Learning how to install laminate flooring is a practical skill that can dramatically improve the appearance and functionality of your home. Whether you’re renovating a room in your Ohio cabin or upgrading a suburban family home, laminate flooring offers a cost-effective, stylish, and durable solution. Its ease of installation compared to hardwood and tile makes it a top choice for homeowners across the Midwest. However, to ensure the flooring looks great and lasts, you’ll need to follow a methodical approach and account for climate-related considerations, especially in regions like Ohio, where seasonal humidity can affect flooring materials.
Choosing the Right Laminate Flooring
Before you learn how to install laminate flooring, it’s crucial to choose the right type. Laminate is available in a variety of styles, colors, and thicknesses. Thicker options generally offer better sound insulation and feel sturdier underfoot, while thinner varieties may be more budget-friendly. Look for products with a strong wear layer and water resistance—especially if you plan to install in kitchens or entryways exposed to moisture.
Many manufacturers provide water-resistant or even waterproof laminate lines. In regions like Ohio, where snow and rain are common, these moisture-resistant features add value. You should also consider the AC (Abrasion Criteria) rating, which tells you how durable the product is in high-traffic areas.
Preparing the Subfloor
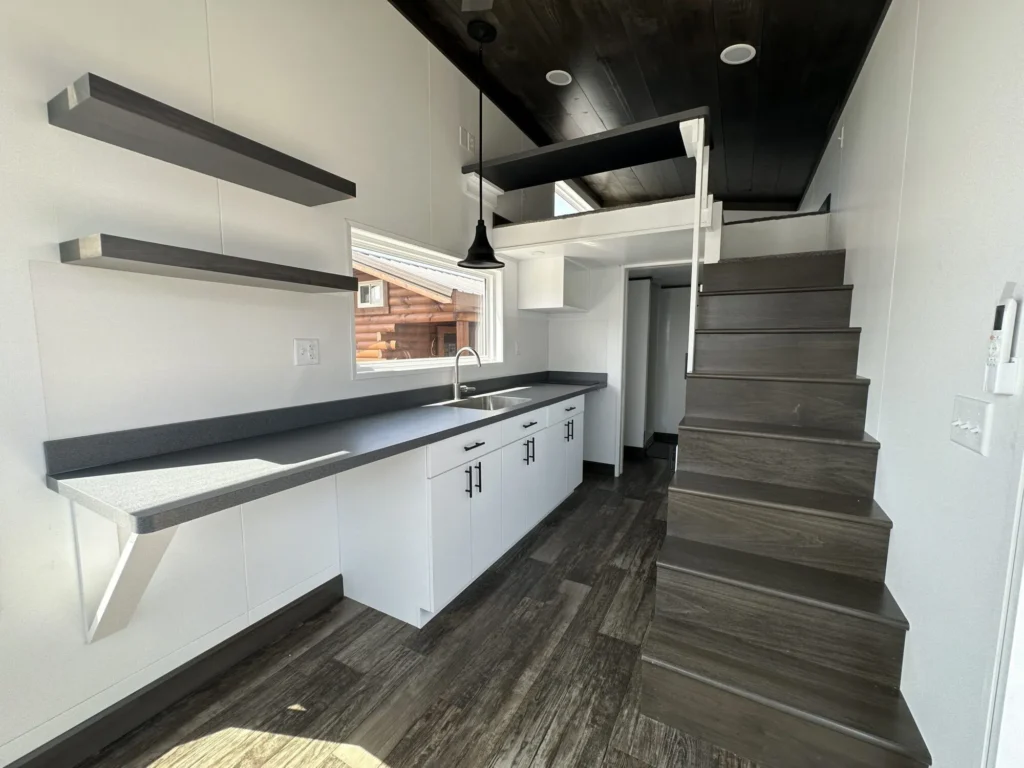
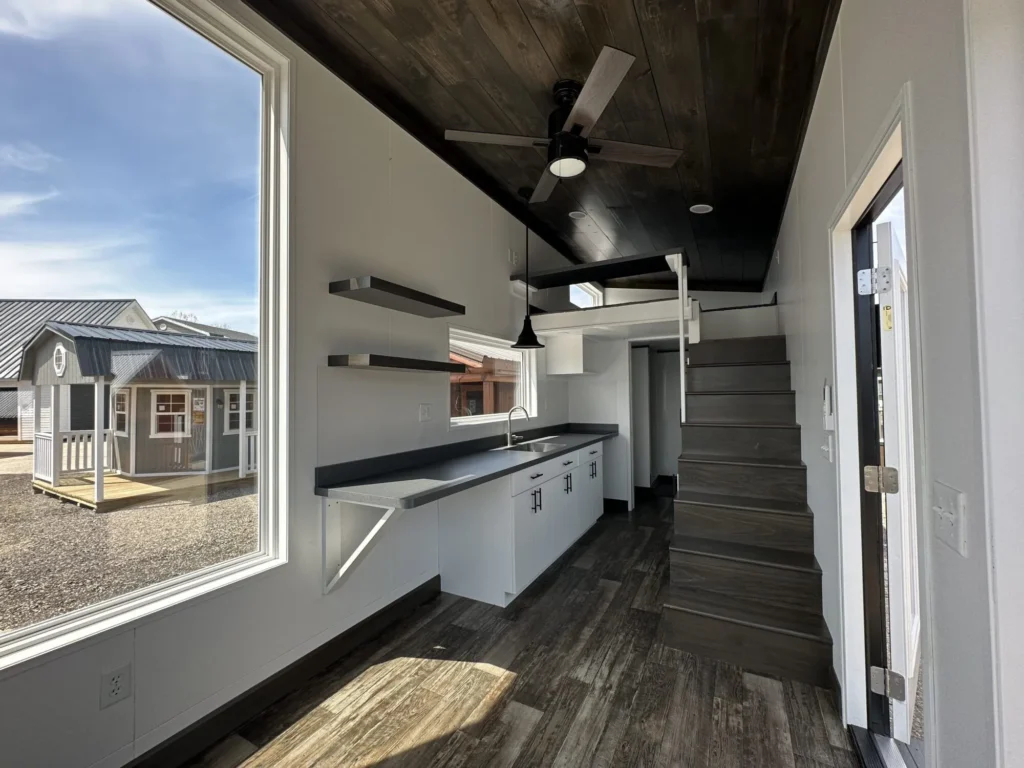
A successful laminate floor installation depends heavily on the condition of the subfloor. The surface must be clean, dry, and level. Uneven subfloors can result in bouncing or squeaking as the laminate panels shift under pressure. Remove any old carpet, nails, or debris and inspect for dips or high spots. Minor imperfections can often be corrected with leveling compound or underlayment padding.
Laminate flooring typically requires an underlayment, which acts as a moisture barrier and provides cushioning. Some laminate options come with pre-attached underlayment, while others require a separate roll. In climates like Ohio’s, where ground moisture and humidity fluctuate, a quality underlayment can help protect your flooring from warping or mold growth.
Acclimating the Laminate
One often-overlooked step in how to install laminate flooring is acclimation. Laminate planks should sit in the room where they’ll be installed for at least 48 hours. This gives them time to adjust to the room’s temperature and humidity levels. This is particularly important in areas like Northeast Ohio, where seasonal shifts can cause dramatic humidity changes.
Skipping this step can lead to buckling, gapping, or joint separation down the road. Stack the boxes flat and open them slightly to allow air circulation during the acclimation period.
Planning the Layout
Before installing, take the time to plan your layout. Start by measuring the length and width of the room to determine how many full planks you’ll need and where to place cuts. It’s best to stagger the seams for a more natural appearance and structural integrity.
Rooms are rarely perfectly square, so begin layout planning along the longest wall or in the most visible section of the space. Mark guidelines with chalk to keep your rows straight. Using spacers between the planks and the wall allows room for expansion, which is vital in climate-variable areas like Ohio.
Installing the First Rows
Begin installation by laying your first row along the most visible wall, with the groove side facing the wall. Most laminate flooring uses a click-lock system where planks snap together at the edges. Start from the left side of the room and work toward the right, using spacers to maintain an expansion gap around the perimeter.
The second row should begin with a plank cut to about two-thirds of its original length. This staggering prevents alignment of the seams and adds stability to the floor. Use a tapping block and pull bar to ensure tight seams, but avoid striking the planks directly, which can damage the locking system.
Continuing the Installation
As you continue across the room, maintain the staggered pattern and keep an eye on plank alignment. Make necessary cuts using a circular saw, jigsaw, or laminate cutter. Remember to wear safety gear and work in a ventilated area when cutting. Regularly check that the rows remain straight by referencing your chalk lines.
When you reach obstacles like doorways or floor vents, trace and cut the planks carefully to fit. Expansion gaps must still be maintained even around these features to accommodate seasonal movement.
Finishing Touches
Once the main installation is complete, remove the spacers and install baseboards or quarter-round molding to cover the expansion gaps. Nail the trim to the wall, not the flooring, to allow the floor to expand and contract freely. Reinstall doors and transition strips at thresholds between different flooring types.
Thoroughly clean the floor to remove sawdust or debris. Avoid mopping with excessive water—use a damp cloth or mop recommended for laminate flooring to prevent swelling or damage. Let the floor settle for 24 hours before moving heavy furniture or appliances onto it.
Common Mistakes to Avoid
Even though learning how to install laminate flooring is relatively beginner-friendly, common mistakes can shorten its lifespan or affect its appearance. Skipping acclimation, ignoring subfloor irregularities, or failing to leave expansion gaps are some of the biggest errors. In a region like Ohio, these missteps can be costly due to the drastic temperature and humidity changes that occur throughout the year.
Another mistake is using the wrong type of underlayment or failing to read the manufacturer’s instructions. Each laminate brand has specific installation guidelines, and ignoring them can void warranties and reduce performance.
For more guidance on laminate flooring installation, you can refer to trusted resource such as HGTV’s Flooring Guide.
Conclusion
Knowing how to install laminate flooring properly can transform your space, enhance durability, and even boost home value. With the right preparation, tools, and attention to detail, you can complete the project confidently. Homeowners in Ohio and the Midwest will benefit even more from moisture-resistant products and proper installation techniques tailored to local climate conditions.
If you’re upgrading a cabin, remodeling a room, or building new in the Midwest, Ohio Cabin And Structures offers complete solutions designed for local needs—from handcrafted cabins to construction guidance, all built to endure the region’s environment.