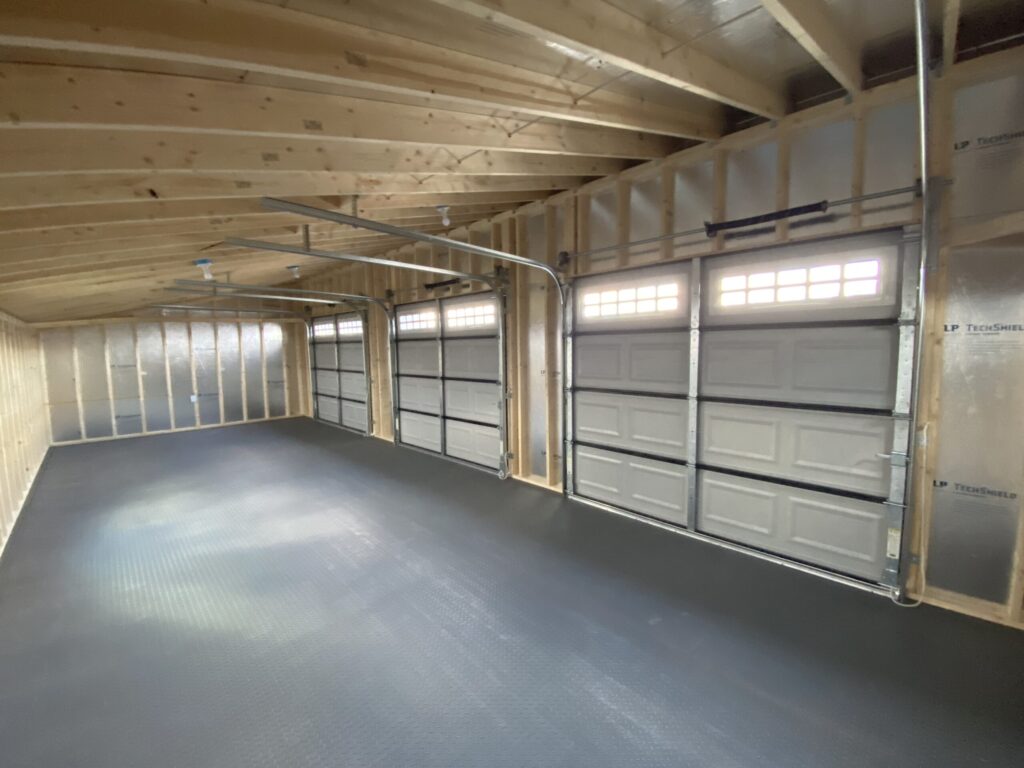
Installing a garage door yourself can save you hundreds of dollars and provide a sense of accomplishment. With the right tools and information, anyone can tackle this DIY task successfully – whether they’re just now entering the world of home repair or already seasoned contractors and garage owners. In this blog post, we’ll walk through exactly how to install a garage door from start to finish, so you can make sure it’s installed properly for optimal performance. So grab your tool belt and let’s get started!

Gather the necessary tools and materials for installation, such as a power drill, measuring tape, and level
Before embarking on any installation project, it’s important to gather all the necessary tools and materials. Making sure you have the right equipment can save you time, money, and frustration. Depending on the project, you may need tools such as a power drill, measuring tape, and level. These tools can help ensure your installation is precise and professional-looking. Don’t forget to also stock up on any additional materials, such as screws, nails, or adhesive. By taking the time to gather everything you need upfront, you’ll be set up for success on your installation project.
Measure the opening of your garage to make sure you get the correct size door
If you’re thinking about upgrading or replacing your garage door, measuring the opening of your garage should be your first step. It may seem like a mundane task, but measuring accurately can save you a lot of time, money, and headache in the long run. There are a few key measurements you need to take into consideration, such as the width and height of the opening, as well as the depth of the garage itself. Taking a few extra minutes to measure accurately will help ensure you get the correct size door, and that your installation goes smoothly. So grab your measuring tape, take some notes, and rest easy knowing you’re well on your way to a new and improved garage door.

Follow the instructions in the manual to assemble and install the rails
Assembling and installing rails can be a daunting task, but with the proper guidance, you can easily make it happen. Following the instructions provided in the manual is key to a successful installation. Take your time and be sure to understand each step before moving on to the next. By doing so, you can avoid frustration and ensure that your rails are secure and stable. Whether you are a seasoned DIY-er or new to the game, this project is achievable with a little patience and attention to detail. So grab your manual, gather your tools, and get ready to tackle your rail assembly and installation like a pro!
First Steps
Installing a garage door can be a relatively easy and straightforward process. However, there are certain steps to take and safety considerations to keep in mind when doing so. First, be sure to carefully assess the area of installation and measure for a suitable fit for the new door. Check for any obstructions that might get in the way of installing the door, such as wires or pipes, and make sure that there is enough clearance for it to open fully without hitting anything. Additionally, it is important to pay attention to the weight of your chosen garage door as well as its overall dimensions. This will help you decide which type of system will best suit your needs and determine if you need assistance from a professional contractor. Once you have acquired the necessary materials, begin by fastening the track along both sides of the opening, making sure they are firmly secured into place with bolts and screws. Then attach the vertical tracks on both ends of the horizontal track before bolting them in place.

Hinges and Security
Next, fix hinge brackets on either side before sliding rollers onto each side of the door. Connect this assembly to an opener motor located at one end of the tracks and then install your desired opener controls and accessories (e.g., remote-controls). Finally, mount your chosen garage door onto its tracks before locking it securely in place with an anchor bar or its designated mounting bracket hardware. In all scenarios involving a DIY installation, safety should always be taken into consideration as garages often contain hazardous materials such as gasoline containers or even flammable liquids like paint thinner or oil-based products which could cause serious injury if not handled properly. Additionally, it is important to understand that certain types of garage doors require specialized expertise due to their size or complexity; thus it might be necessary to contact a professional contractor for assistance when needed.
Concluding
The task on how to install a garage door can be daunting, but it can be very simple if done carefully and correctly. Ohio Cabins and Structures Garage buildings offer the most secure garage doors on the market. With a commitment to safety, their garage door systems are designed to keep your belongings safe from intruders while ensuring easy access for you.
All of our garage doors come with heavy-duty locking mechanisms, reinforced frames and weatherproofing features that ensure maximum protection against any potential break-ins or vandalism attempts. Additionally, they use only top quality materials in construction to guarantee durability and long lasting performance.
So if you’re looking for a reliable and secure solution for protecting your valuables, Ohio Cabins and Structures has got you covered! We do hope this helps you know how to install a garage door at the littlest detail, if you need more, let us know. We love helping out with our customers’ needs!
