When it comes to maintaining comfort, protecting stored items, and improving energy efficiency, insulating your garage roof is one of the smartest upgrades you can make. Whether your garage serves as a workshop, storage space, or future living area, understanding how to insulate a garage roof properly ensures year-round usability and significant long-term benefits. In this guide, we’ll walk through the essentials of insulating a garage roof, from materials selection to installation best practices.
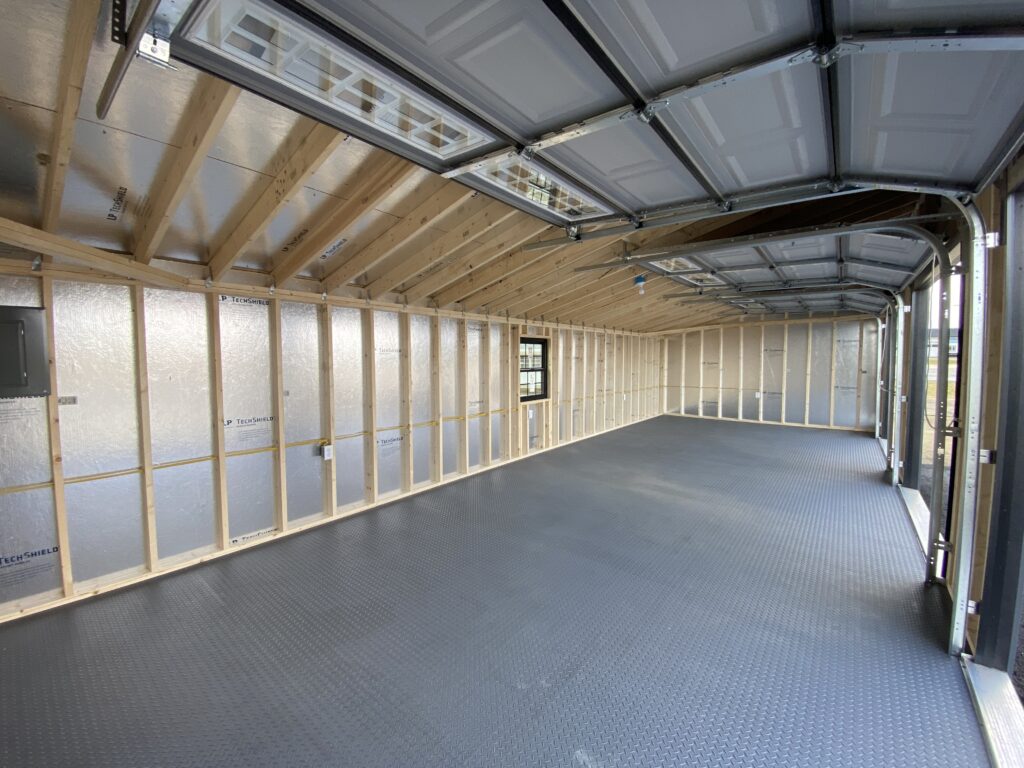
Why Insulate a Garage Roof
Before diving into how to insulate a garage roof, it’s important to understand why it matters:
- Temperature Control: Insulation helps keep the garage warmer in winter and cooler in summer.
- Energy Efficiency: Reducing temperature swings cuts heating and cooling costs, especially if the garage is attached to your home.
- Moisture Control: Proper insulation reduces condensation, protecting tools, equipment, and vehicles.
- Noise Reduction: Insulation dampens outdoor noise and makes working inside the garage more pleasant.
- Comfort: A well-insulated garage is more comfortable for hobbies, DIY projects, or even future conversions to living space.
Whether you’re insulating a new garage or retrofitting an existing one, the right approach makes all the difference.
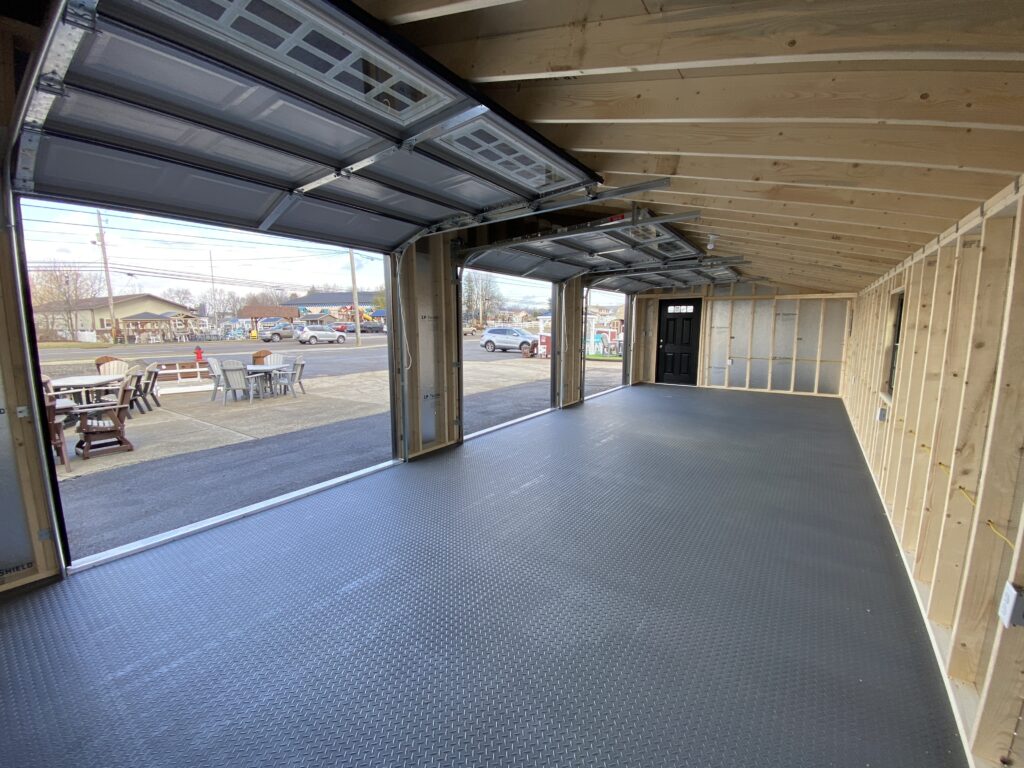
Choosing the Right Insulation Material
Several types of insulation are suitable for garage roofs:
- Fiberglass Batts: Affordable and easy to install between roof rafters; widely available.
- Rigid Foam Boards: Offer high R-value per inch, moisture resistance, and a clean look; great for unfinished garages.
- Spray Foam Insulation: Provides an airtight seal and superior insulation but is more expensive and often requires professional installation.
- Reflective Foil Insulation: Effective in hot climates to reflect radiant heat away from the building.
When deciding how to insulate a garage roof, consider your climate, budget, and whether the garage will be heated, cooled, or simply buffered against extreme temperatures.
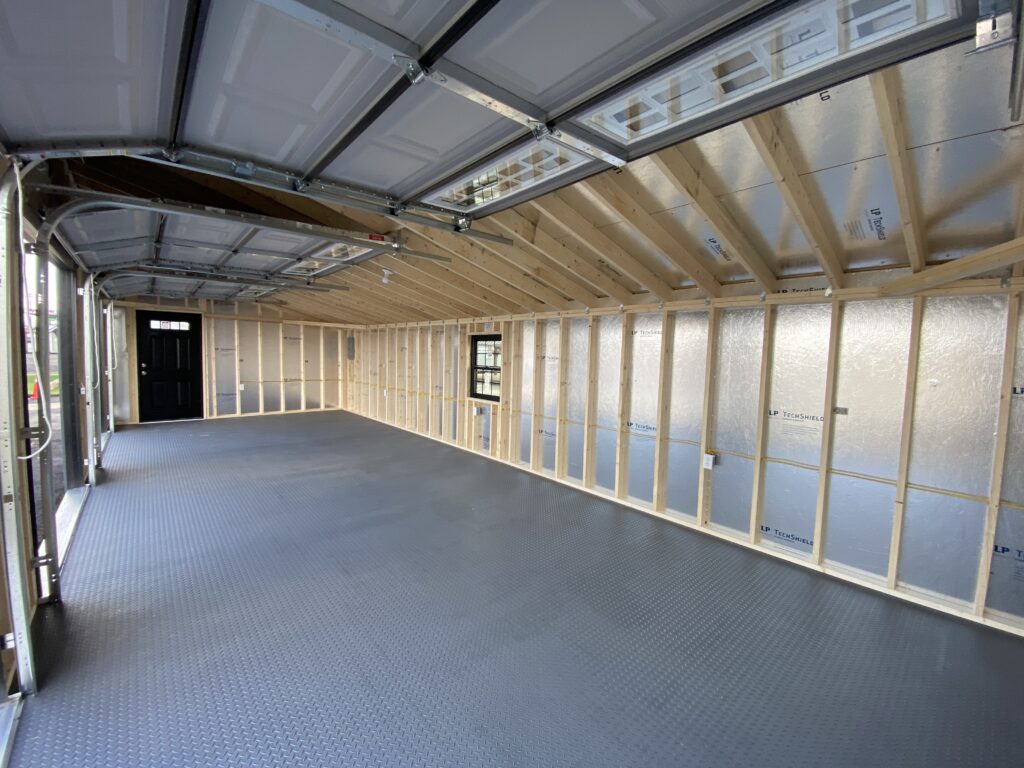
Tools and Materials Needed
To insulate a garage roof, you’ll typically need:
- Insulation material (batts, foam boards, or spray foam)
- Vapor barrier (for moisture-prone areas)
- Utility knife or insulation saw
- Measuring tape and straightedge
- Staple gun and staples (for batts or vapor barrier)
- Construction adhesive (for foam boards)
- Safety gear: gloves, goggles, dust mask, and long sleeves
Proper preparation and protective equipment ensure a smoother and safer installation process.
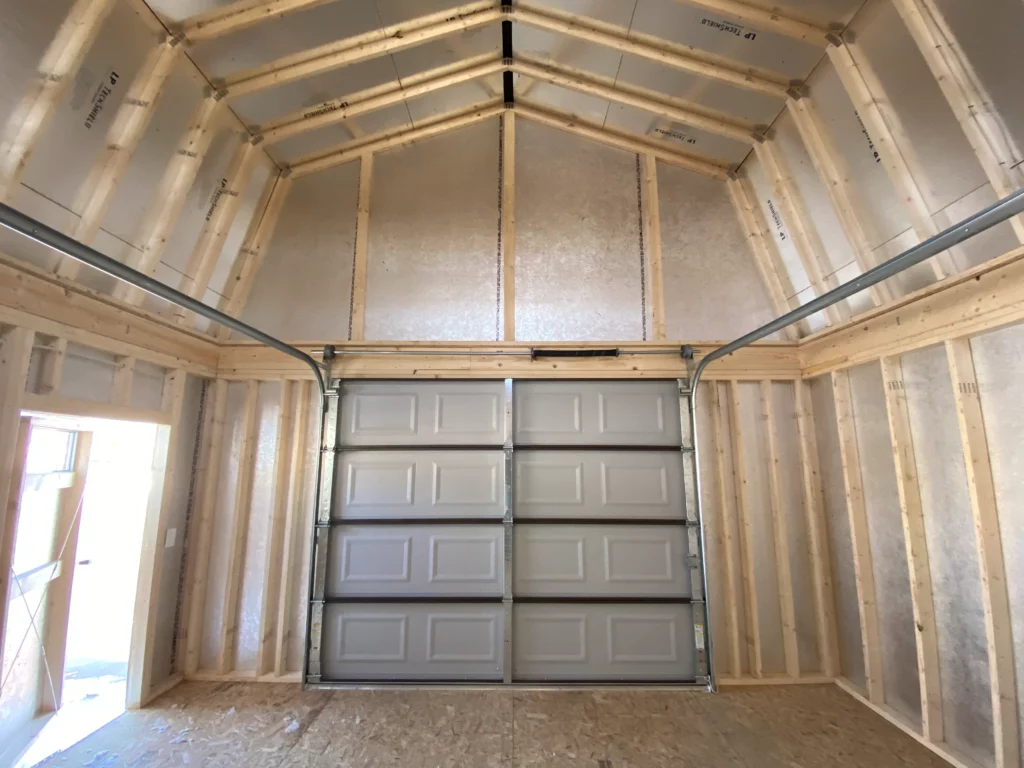
Step-by-Step Guide: How to Insulate a Garage Roof
1. Inspect the Garage Roof Structure
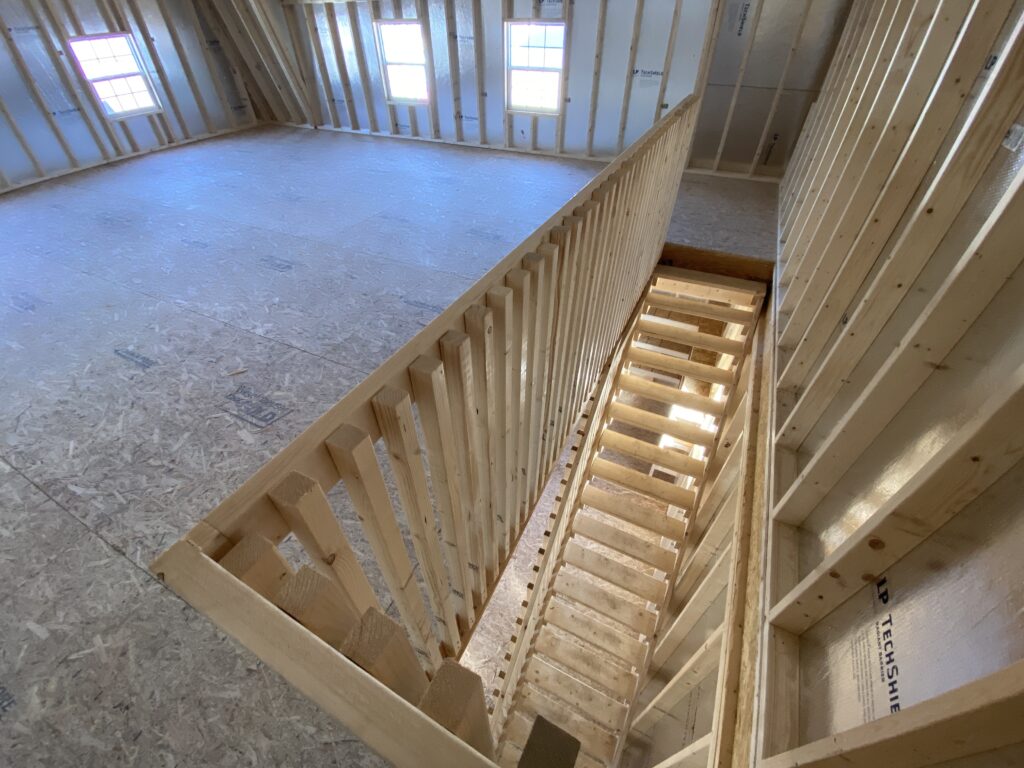
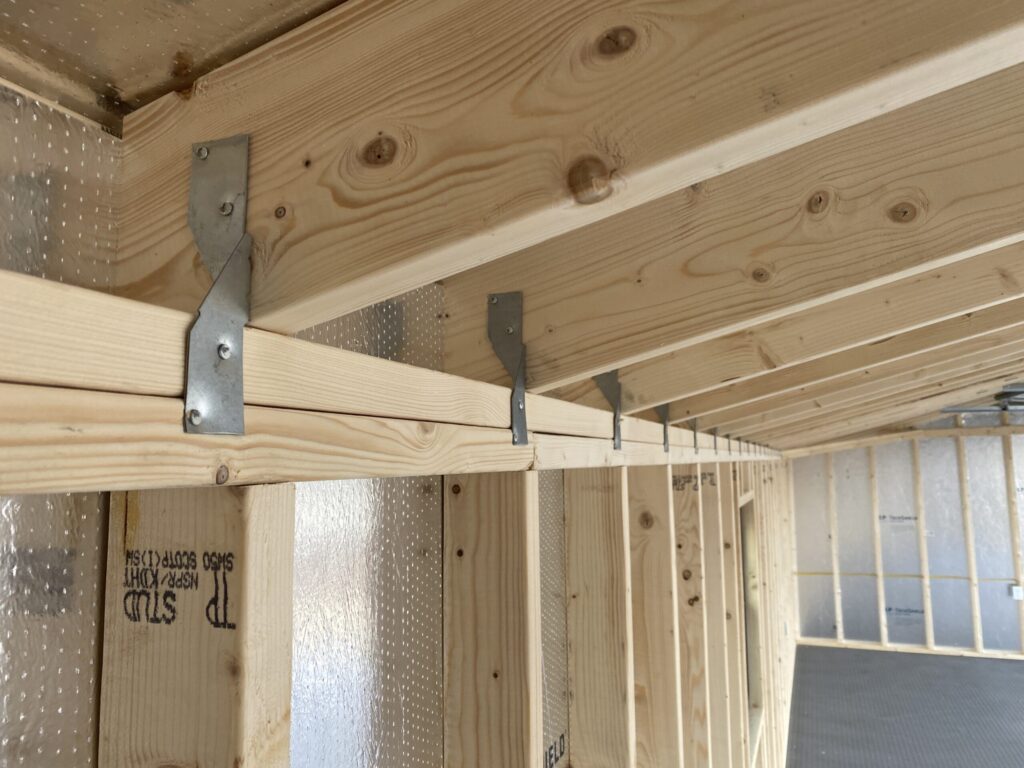
Before beginning insulation, inspect the existing roof framing:
- Ensure rafters are intact and free of moisture damage.
- Look for signs of leaks and address them before installing insulation.
- Check that electrical wiring is properly routed and up to code.
A solid, dry, and structurally sound base is crucial for insulation effectiveness.
2. Measure and Plan
Accurate measurements ensure you buy the right amount of insulation and minimize waste. Measure:
- The distance between rafters (standard spacing is typically 16 or 24 inches apart)
- The depth of the rafter cavities (to select appropriately thick insulation)
Plan your layout so insulation fits snugly without compressing it, which can reduce its R-value.
3. Install a Vapor Barrier (If Needed)
In humid climates, installing a vapor barrier can prevent moisture buildup in the insulation. Secure the vapor barrier to the warm side of the insulation—usually facing the inside of the garage—with a staple gun.
4. Install Insulation
For Fiberglass Batts:
- Cut batts to fit snugly between rafters without compressing them.
- Place the batts into the cavities, stapling flanges to the sides of the rafters if necessary.
For Rigid Foam Boards:
- Cut foam boards to fit between or across the rafters.
- Attach boards using construction adhesive or screws with washers.
- Seal seams with foil tape or spray foam for a continuous thermal barrier.
For Spray Foam:
- If using closed-cell spray foam, hire a professional for even application and code compliance.
Avoid leaving any gaps where heat or cold could leak through.
5. Add Finishing Touches (Optional)
Cover the insulation with drywall or plywood if building codes require it or if you want a finished interior appearance. Adding a finished ceiling also adds an additional layer of protection and insulation.
Insulating the Garage Door and Walls
To maximize the benefits of your roof insulation, also consider:
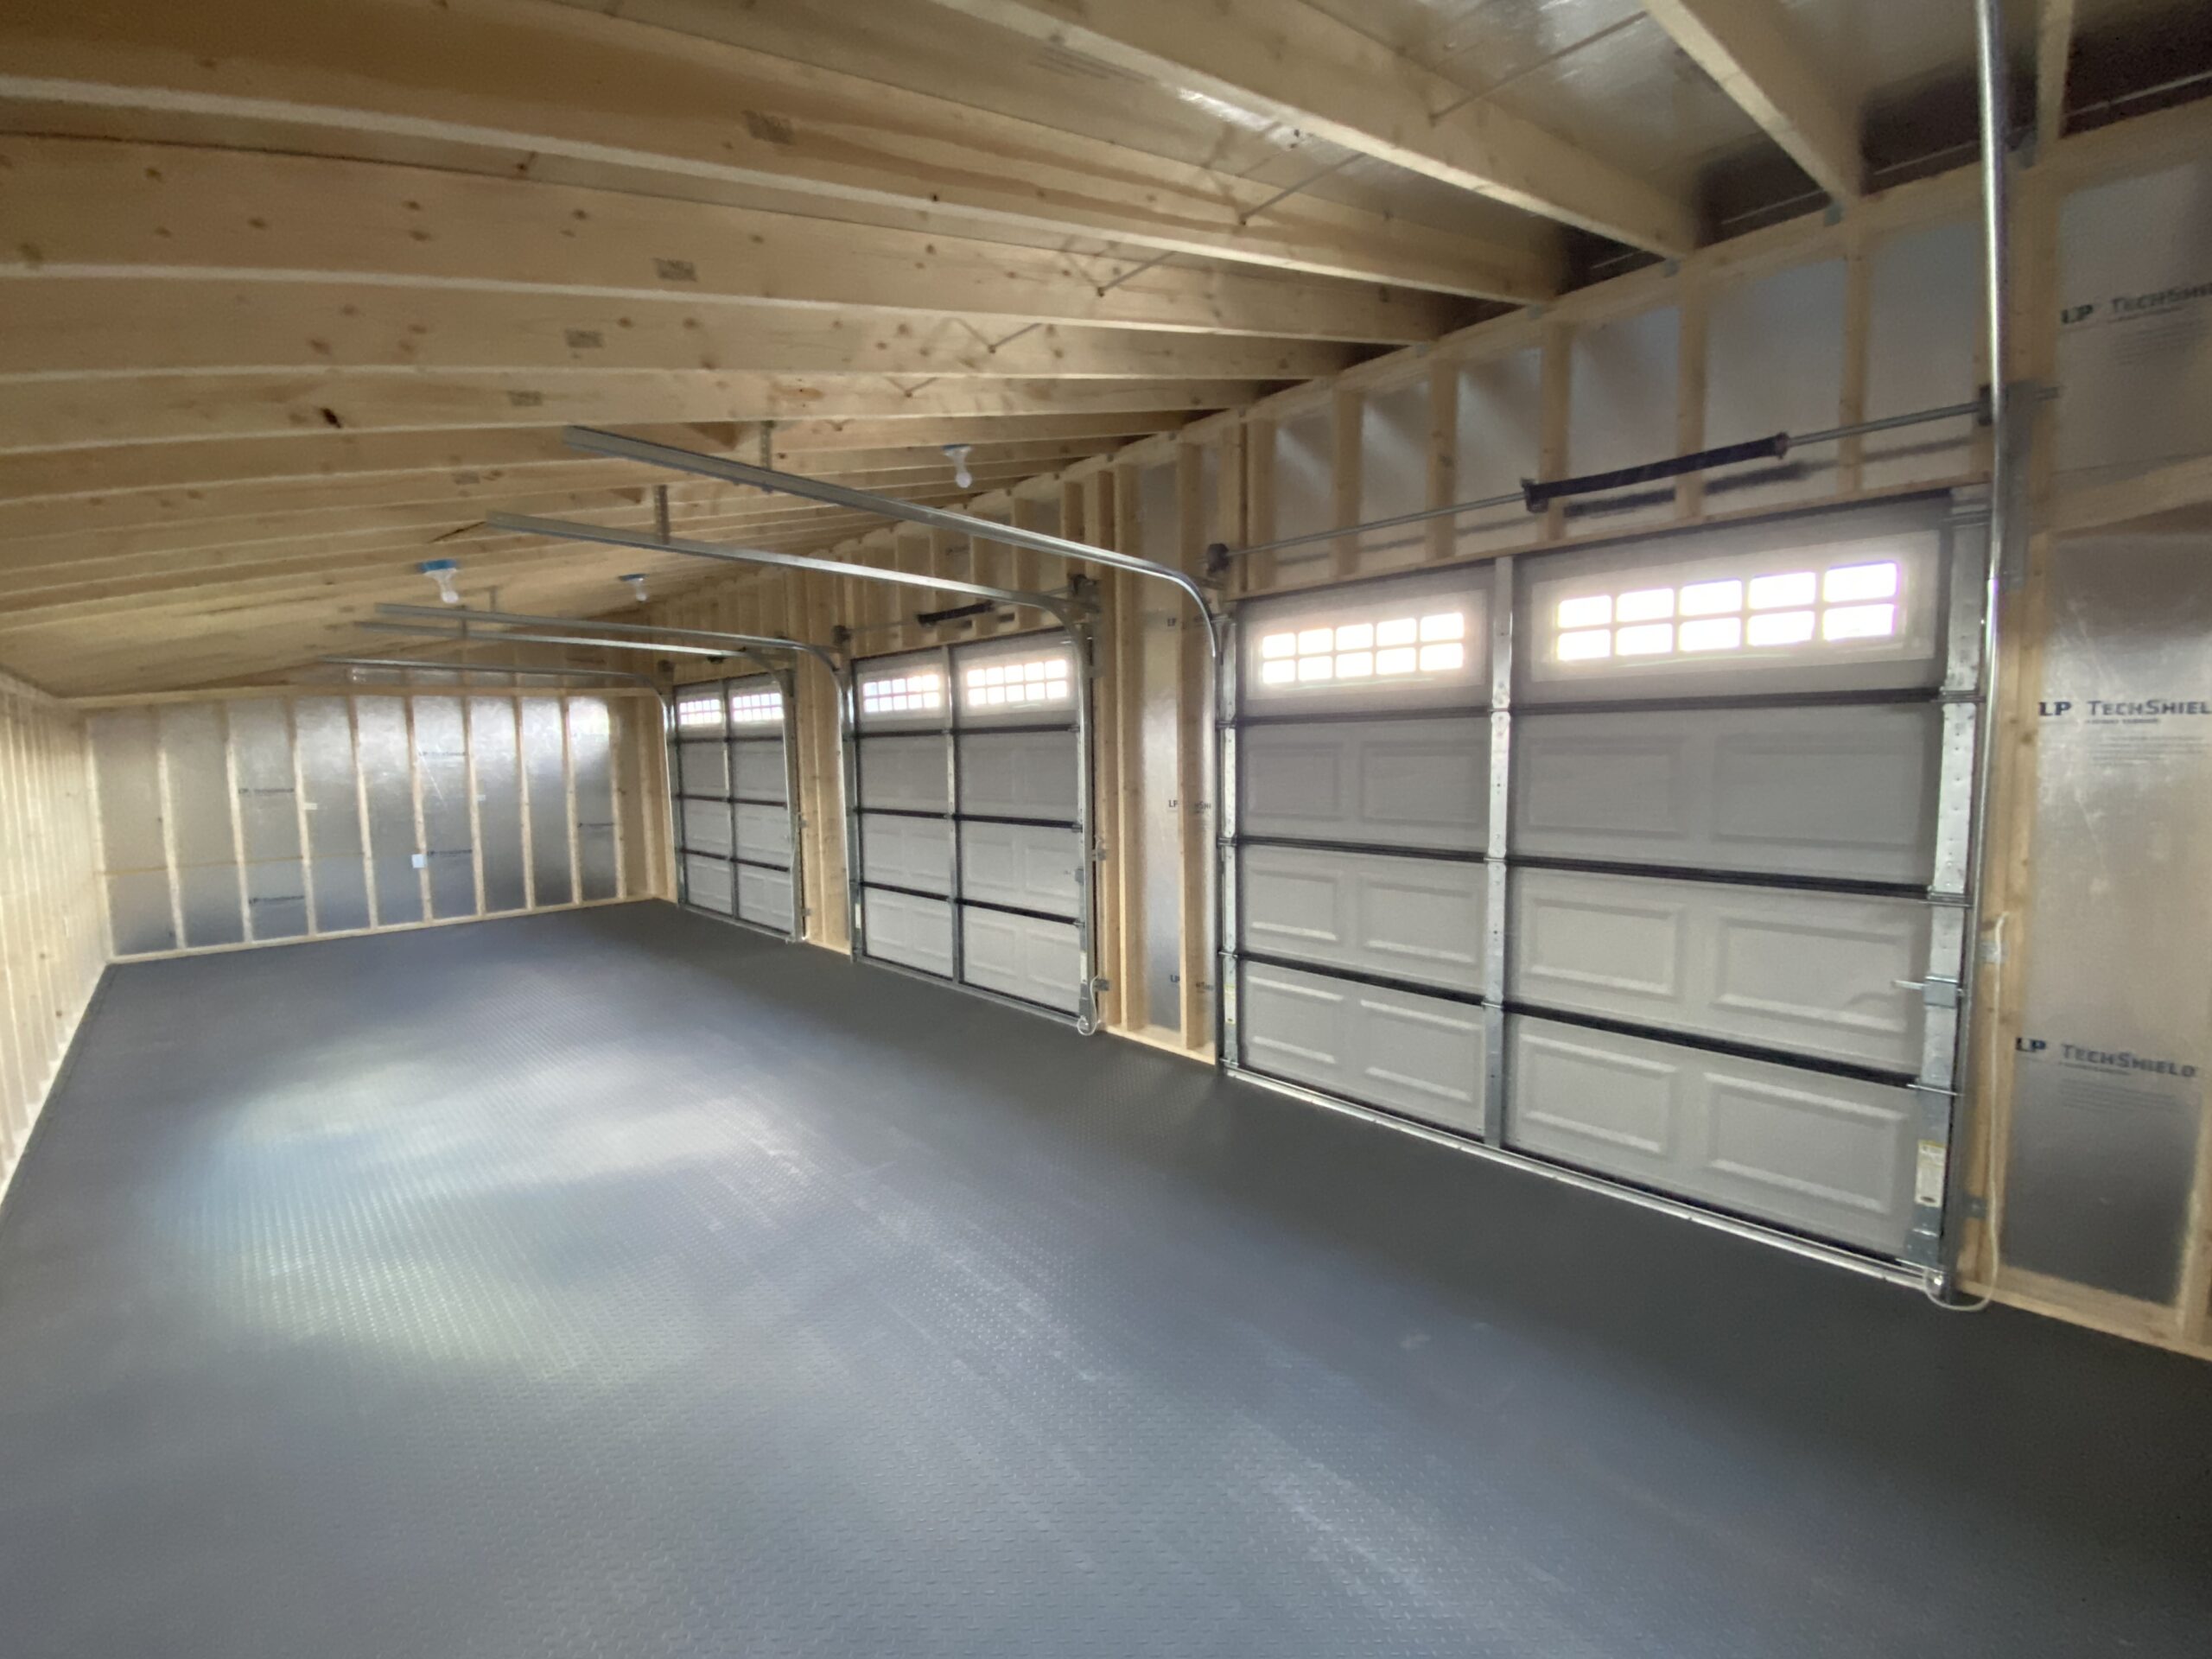
- Adding insulation panels to the garage door.
- Insulating the walls using similar materials and methods.
- Sealing gaps around windows, doors, and vents.
Creating a fully insulated envelope around the garage greatly improves overall efficiency and comfort.
Common Mistakes to Avoid
When learning how to insulate a garage roof, steer clear of these common errors:
- Skipping air sealing: Unsealed gaps undermine insulation effectiveness.
- Compressing insulation: Reduces its thermal resistance.
- Ignoring ventilation: Proper roof ventilation prevents moisture buildup.
- Overlooking building codes: Check local requirements for insulation type, vapor barriers, and fire-rated coverings.
Attention to detail ensures your insulation investment pays off over time.
Ohio Cabins & Structures: Garage Experts
Ohio Cabins & Structures builds high-quality prefab garages designed for easy upgrades, including roof and wall insulation. Their durable structures are ideal for year-round use, whether you’re storing vehicles, creating a workshop, or building a backyard retreat.
Explore customizable garage models and accessory buildings by visiting Ohio Cabins & Structures. For additional DIY insulation resources, visit trusted sites like Energy.gov and Family Handyman.
Understanding how to insulate a garage roof empowers you to transform an ordinary space into a more comfortable, energy-efficient, and valuable part of your property—a project well worth the effort.
