Learning how to lay laminate flooring is a valuable skill that can completely transform a room, giving it a fresh, updated look while also adding durability and ease of maintenance. Whether you’re renovating a cozy cabin in rural Ohio or updating a modern living space in Columbus, laminate flooring is a smart choice for homeowners who want the aesthetic appeal of hardwood without the high cost or complex installation. While laminate is designed with do-it-yourselfers in mind, laying it properly requires careful preparation and attention to detail.
Choosing Laminate That Suits the Space
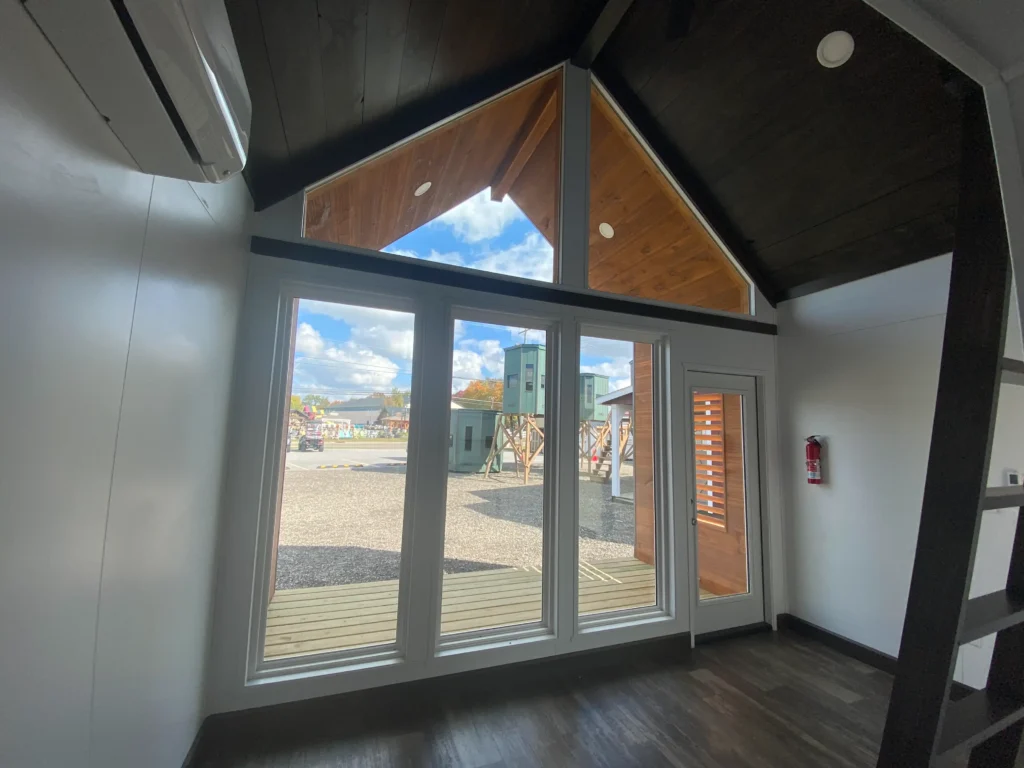
Before you begin the process of how to lay laminate flooring, it’s important to choose the right type of laminate for your environment. Laminate flooring comes in a variety of styles, textures, and thicknesses. In homes throughout Ohio, where weather conditions range from humid summers to cold, damp winters, moisture-resistant or waterproof laminate options are ideal.
You’ll also want to consider plank thickness and wear layer quality. Thicker planks offer better sound insulation and a more solid underfoot feel, while high AC (Abrasion Class) ratings provide added protection in high-traffic areas. Matching the floor’s tone and texture to the room’s lighting and design elements will help ensure a cohesive and attractive final look.
Preparing the Subfloor for Installation
A critical step in how to lay laminate flooring is preparing the subfloor. The base layer must be clean, level, and dry to avoid future issues like squeaking, shifting, or premature wear. Sweep or vacuum thoroughly and fix any uneven areas using a leveling compound. In older homes or cabins with wood subfloors, secure loose boards and check for moisture.
Many laminate flooring systems require an underlayment to cushion the floor, reduce sound, and act as a moisture barrier. Some laminate products come with underlayment pre-attached, but if not, you’ll need to roll out a separate foam or cork layer. For Ohio homes especially, moisture management is vital due to the region’s seasonal changes in humidity.
Acclimating the Laminate Material
One of the most overlooked aspects of how to lay laminate flooring is acclimation. Because laminate is made of composite wood, it expands and contracts with changes in temperature and humidity. To avoid warping or gapping, leave the unopened flooring boxes in the installation room for 48 to 72 hours. This allows the planks to adjust to the room’s climate, particularly important in Midwest climates where weather swings are frequent.
Lay the boxes flat and off the ground with adequate airflow around them. Ensure the room remains at a stable temperature and humidity level during this period. Acclimation can prevent many of the common post-installation issues that compromise both appearance and performance.
Planning the Layout and Making Accurate Cuts
When determining how to lay laminate flooring, layout planning is essential. Start by measuring the room and calculating how the planks will be distributed. You’ll want to avoid having a very narrow piece along the final wall, which can be both unattractive and structurally weak.
Begin laying planks along the longest wall or the most prominent line of sight, usually parallel to natural light sources like windows. Stagger the joints by cutting the starting plank of each row to a different length. This improves both the visual appeal and strength of the floor. Always use a sharp saw or laminate cutter to get clean edges, and be sure to wear safety gear while cutting.
Installing the Laminate Planks
Most laminate flooring uses a click-lock system where planks snap together along the edges and ends. Start in one corner of the room, working left to right. Use spacers between the planks and the wall to maintain a consistent expansion gap, typically around a quarter inch. This allows the floor to expand and contract with seasonal humidity.
Angle each plank into place and press down until you hear or feel it lock. Use a tapping block and pull bar when necessary to close gaps without damaging the plank’s edge. As the rows build out, frequently check that seams are tight and rows are aligned.
Navigating Obstacles and Transition Areas
Laying laminate around door frames, vents, or uneven edges requires careful cuts and patience. For doorways, undercut the trim so that the laminate can slide underneath, creating a cleaner look. Use a jigsaw to make notches or rounded cuts where needed. Be sure to maintain the expansion gap around all fixed objects.
In open-concept areas or when transitioning between rooms, install a transition strip. These strips help accommodate differences in floor height and allow for natural movement between surfaces. They also serve to visually divide spaces and improve overall design cohesion.
Final Steps: Trimming and Settling
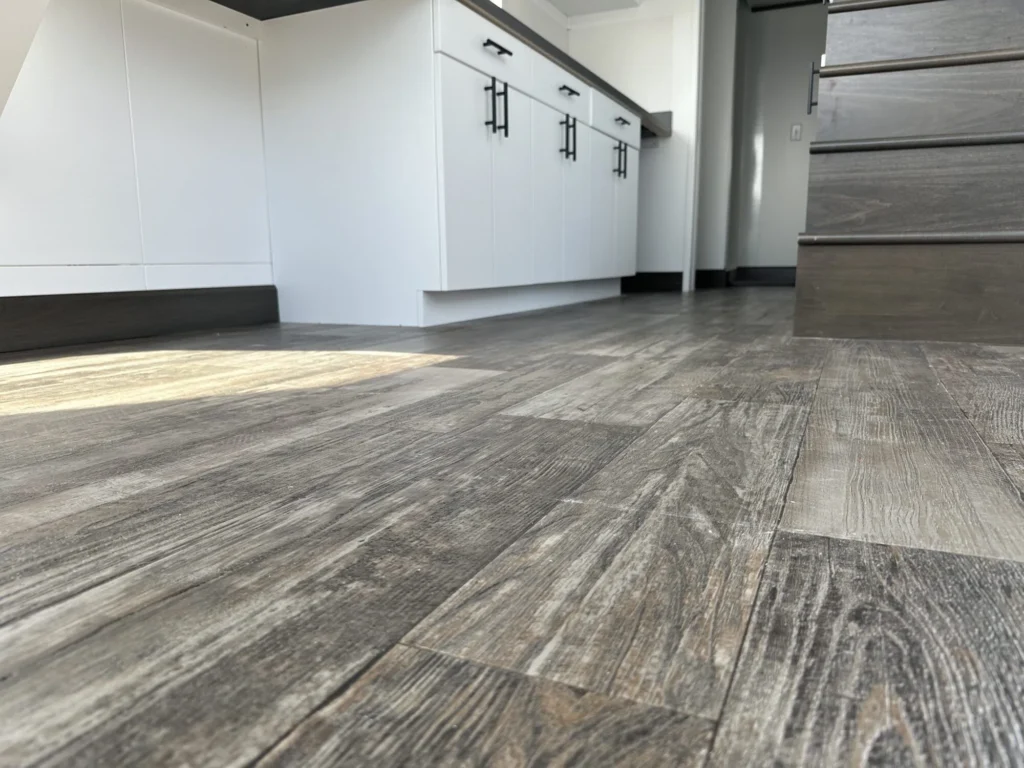
After all planks are laid, remove the wall spacers and install baseboards or quarter-round molding to cover the expansion gap. Nail the trim to the wall, not the floor, to allow the laminate to shift naturally. Avoid attaching anything directly to the floating floor.
Clean the surface with a damp microfiber mop to remove dust and debris. Do not wet mop or use steam cleaners. Allow the floor to settle for at least 24 hours before placing furniture or heavy items. This gives the flooring time to adjust fully and ensures all joints are properly locked.
Common Mistakes to Avoid
Even if you understand how to lay laminate flooring, certain missteps can undermine your efforts. Rushing through acclimation or skipping underlayment installation are frequent errors. Failing to leave expansion space or using incorrect tools can lead to gaps, lifting, or noise.
Using incompatible cleaning products or excessive moisture after installation can also damage the floor. To avoid these pitfalls, always follow the manufacturer’s guidelines and take your time to prepare properly. For additional insights, visit HGTV’s flooring installation guide or check Lowe’s laminate flooring tips.
Conclusion
Knowing how to lay laminate flooring correctly can save you money and deliver a high-quality finish that lasts for years. With proper planning, preparation, and technique, homeowners across Ohio—from Cincinnati to Youngstown—can tackle this project with confidence.
For expert craftsmanship and flooring that complements every build, Ohio Cabin And Structures offers custom homes and structures built with Midwest durability in mind. Visit their site to explore design options that elevate both form and function.
