
Knowing how to locate wall studs makes it much easier to hang shelves, cabinets, mirrors, televisions, and other heavy items safely. Wall studs are the vertical framing members hidden behind drywall, paneling, or another wall finish. They give screws and mounting hardware a much stronger connection than drywall alone. The fastest method is usually an electronic stud finder, but you can also locate framing with a magnet, electrical outlets, trim nails, tapping, and standard spacing measurements. Using two or more methods together gives you a better chance of finding the center of the stud instead of drilling near its edge.
Most modern wood-framed walls use studs spaced 16 or 24 inches on center, although this is not guaranteed. Older buildings, remodeled walls, door openings, windows, plumbing, and unusual framing can interrupt the pattern. That is why measuring alone should not be your only method. Find one likely stud, confirm its location, and then use the typical spacing to search for nearby framing. Before drilling, also consider what may run through the wall. Electrical wires, water lines, drain pipes, and other utilities can pass through studs, so locating framing does not automatically mean every point is safe for a deep screw.
Use A Stud Finder For A Quick Starting Point
An electronic stud finder is usually the simplest tool when the wall has standard drywall construction. Place the tool flat against the wall and calibrate it according to the manufacturer’s instructions. Then move it slowly from side to side. Many models signal when they detect the edge of a stud, while more advanced versions attempt to identify the center. Mark both edges when possible. Once you have the two edge marks, place your mounting screw near the middle for the strongest connection. Running the scanner across the same area several times can help confirm the reading.
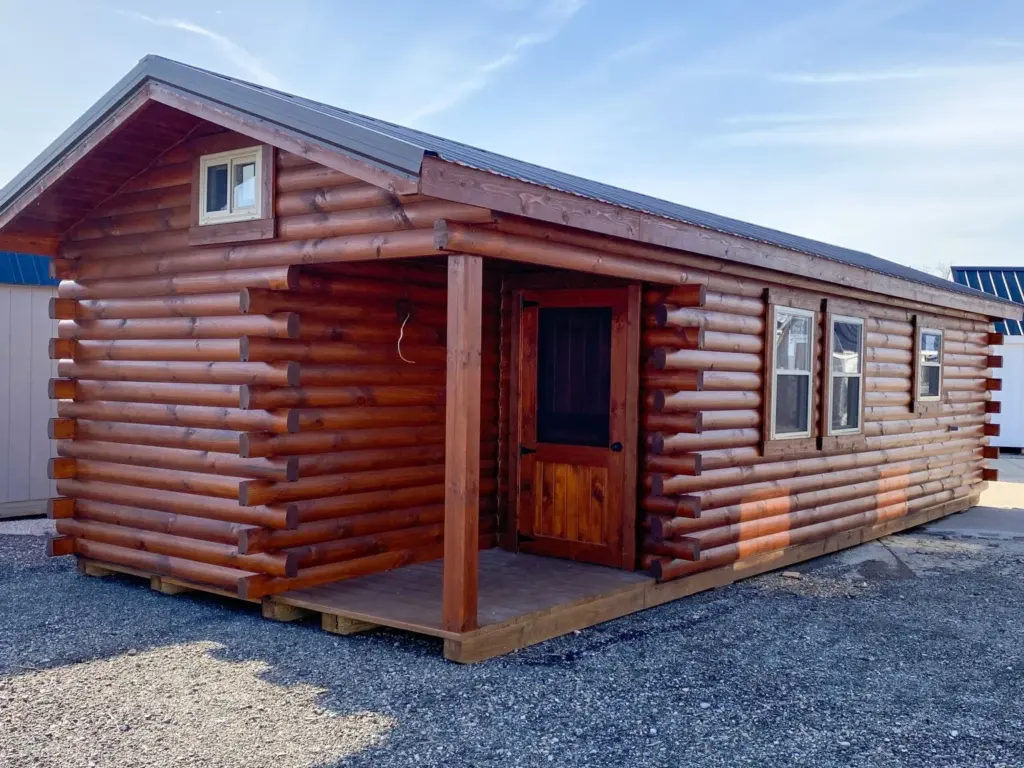
Stud finders are useful, but they are not perfect. Dense insulation, metal framing, pipes, textured surfaces, double layers of drywall, and unusual wall materials can create false readings. A tool may also detect something behind the wall that is not a stud. If the result changes every time you scan the same spot, use another method before drilling. A strong magnet can help confirm drywall fasteners, while an electrical outlet may give you another framing reference. People installing shelves or wall-mounted storage in sheds and utility buildings can also browse structures from Ohio Cabins & Structures for ideas on interior organization and storage layouts.
Check Outlets And Switches For Framing Clues
Electrical outlets and switches can provide useful clues because their boxes are often fastened to the side of a stud. Remove only the decorative cover plate and inspect the outer edge of the box without touching wiring or inserting tools into the electrical opening. In some installations, you may be able to determine which side of the box sits directly against framing. Once you identify that side, the stud usually runs vertically above and below the box. Mark the likely position on the wall and verify it with another method.
After finding one stud, measure 16 inches to the left or right and check for another. If you do not find framing there, try 24 inches. Keep in mind that electrical boxes can also use special mounting systems that do not attach directly to a stud. Remodel boxes, for example, may clamp to drywall rather than framing. For that reason, an outlet should serve as a clue rather than absolute proof. You should also avoid drilling close to electrical boxes without considering the wiring path. Electrical cables often run horizontally or vertically from outlets and switches, so use only the fastener length required for the project.
Find Hidden Drywall Screws With A Magnet
A small strong magnet can be surprisingly effective when you need to know how to locate wall studs without relying entirely on electronics. Drywall installers usually fasten panels directly to studs with screws or nails. These fasteners sit just beneath the finished surface, so a strong magnet can detect them through drywall and paint. Slowly move the magnet across the wall until you feel it pull toward a hidden screw. Mark the point, then move upward and downward to search for more magnetic hits along the same vertical line.
Finding several fasteners aligned vertically provides strong evidence that a stud sits behind them. A rare-earth magnet generally works better than a weak refrigerator magnet because it can detect metal through thicker wall finishes. Some people tie the magnet to a short string and sweep it across the wall until it sticks. Once you identify a row of screws, mark the approximate centerline of the stud. This method is especially helpful when a stud finder gives inconsistent results. It also avoids unnecessary test holes and works well on walls where paint or joint compound completely hides drywall screw heads.
Look At Baseboards, Trim, And Wall Corners
Trim can reveal framing locations because installers often nail baseboards, crown molding, and door casing into studs. Stand close to the wall and inspect the trim for small dimples, filled nail holes, or slight changes in the painted surface. A flashlight held almost parallel to the wall can make these marks easier to see because the low-angle light creates tiny shadows. Once you spot a likely nail, draw an imaginary vertical line upward from that point and test the wall with a magnet, tapping method, or stud finder.
Wall corners can also help because framing usually provides support where two walls meet. However, corners may contain multiple studs or backing blocks, so they are not always ideal for establishing the exact spacing pattern. Start near a corner, measure 16 inches, and check that point. If nothing appears, try 24 inches. Continue across the wall while confirming each likely location. Door and window openings can also interrupt the normal layout because they require additional framing members such as king studs, jack studs, and headers. Treat standard spacing as a guide rather than a rule that applies everywhere.
Use The Tapping Method As A Secondary Check
Tapping the wall is one of the oldest ways to search for hidden framing. Areas between studs tend to sound slightly hollow because there is open space behind the drywall. When you tap directly over a stud, the wall may sound denser, flatter, or less resonant. Start in an area where you already suspect a stud and tap gently with your knuckle while moving across the wall in small increments. Mark the point where the sound changes, then compare it with nearby areas.
This method takes practice, and it works better on some walls than others. Insulation can reduce the difference in sound, while thick drywall or textured finishes may make it difficult to hear any change at all. Do not use tapping as your only method when mounting something heavy. Instead, combine it with a magnet, trim clues, or standard spacing measurements. If several methods point to the same narrow area, you can be more confident that you found framing. For a heavy cabinet, television mount, or loaded shelf, accuracy matters because a screw placed near the edge of a stud may not hold as well as one driven closer to the center.
Confirm The Stud With A Small Test Hole
A thin finishing nail can give you a final confirmation when other methods narrow the location but you still want certainty. Choose a spot that will be hidden by the item you plan to hang. Gently push or tap the nail through the drywall. Drywall offers relatively little resistance once you pass through its surface. If the nail then meets solid resistance, you likely reached wood framing. If it suddenly moves forward into space, you probably missed the stud.
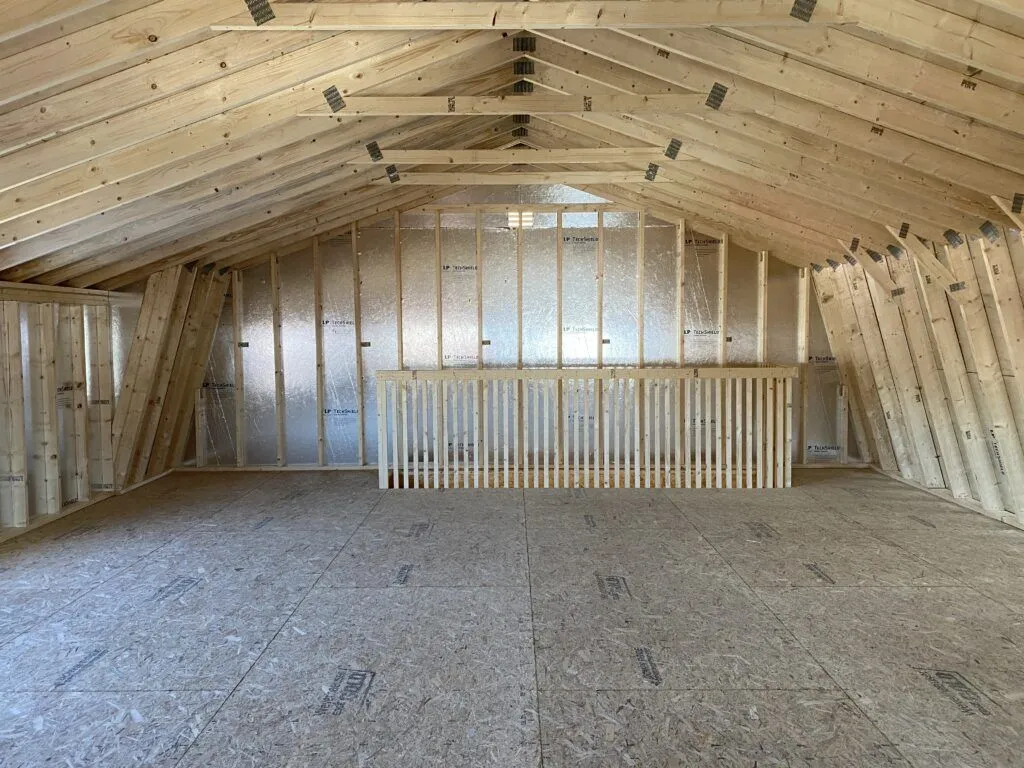
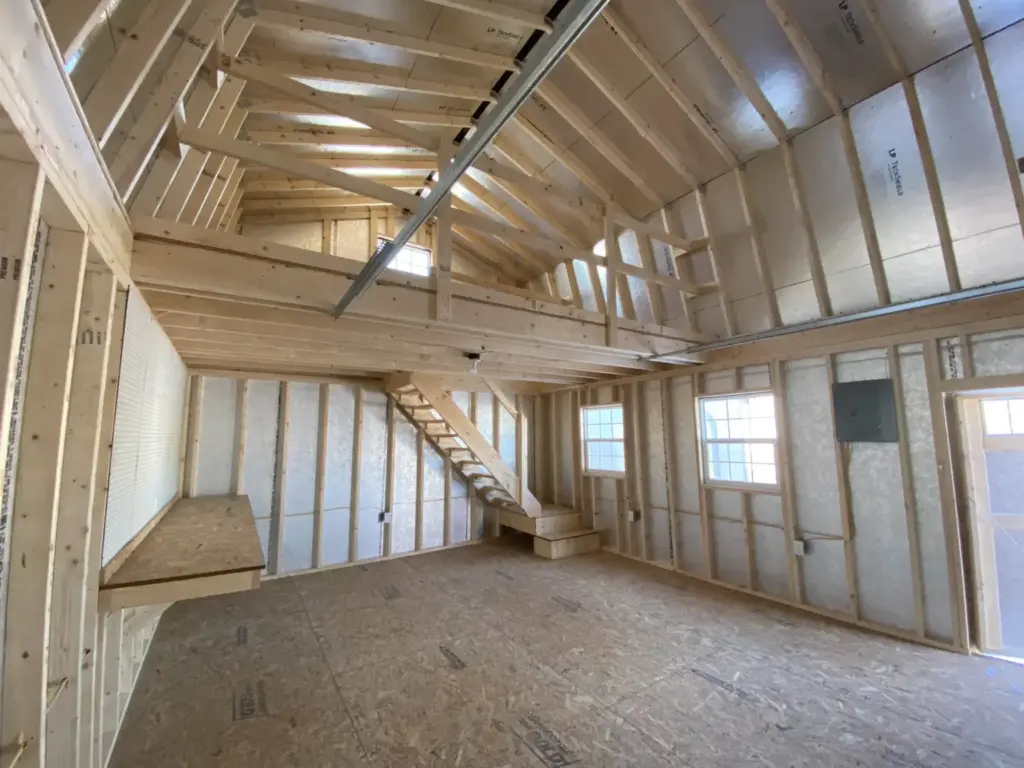
Move slightly left or right and repeat the test until you find both edges of the framing. A typical wood stud is about 1.5 inches wide, so locating both edges helps you determine the center. Keep test holes close together and as small as possible. This technique can be useful when installing heavy objects because it removes much of the uncertainty. If you are planning broader improvements inside a cabin or recreational building, you can browse cabins from Ohio Cabins & Structures for layout ideas and examples of finished interior spaces.
Watch For Wiring, Plumbing, And Other Hidden Utilities
Finding a stud is only half of the job. You also need to drill safely. Electrical wires often pass through holes drilled in framing members, while plumbing pipes can run vertically or horizontally inside wall cavities. Be especially careful near bathrooms, kitchens, laundry rooms, sinks, showers, toilets, outlets, switches, and electrical panels. A long screw driven blindly into a stud can potentially contact something hidden behind the wall.
Use a fastener that is only as long as necessary for the mounting job. Building codes commonly require protective steel plates where wiring or pipes pass close to the face of framing, but you should not rely on those plates as permission to drill anywhere. If your drill suddenly meets a hard metal surface, stop rather than forcing the bit through it. That resistance may come from a protective plate. The International Code Council provides information about building codes and construction standards used by many jurisdictions. Local requirements vary, but careful drilling practices help reduce the risk of damaging concealed utilities.
Mark Stud Centers Before Mounting Heavy Items
Once you identify the framing, mark the center rather than relying on a single edge reading. Use painter’s tape if you do not want pencil marks directly on the wall. Mark several studs when installing a wide shelf, cabinet, television bracket, or other fixture that uses multiple fasteners. Measure the distance between your marks to make sure the pattern makes sense. A series of studs spaced roughly 16 or 24 inches apart increases confidence that you mapped the wall correctly.
How to locate wall studs becomes much easier when you combine clues instead of depending on one trick. Start with a stud finder or outlet, confirm the result with a magnet or trim nail, and use a small test hole when you need absolute certainty. Always consider electrical wiring and plumbing before drilling deeply. Taking a few extra minutes to verify the framing can prevent wall damage and give heavy items the solid support they need. Once the stud centers are clearly marked, you can install mounting hardware with much greater confidence and avoid relying on drywall anchors where a stronger connection is available.