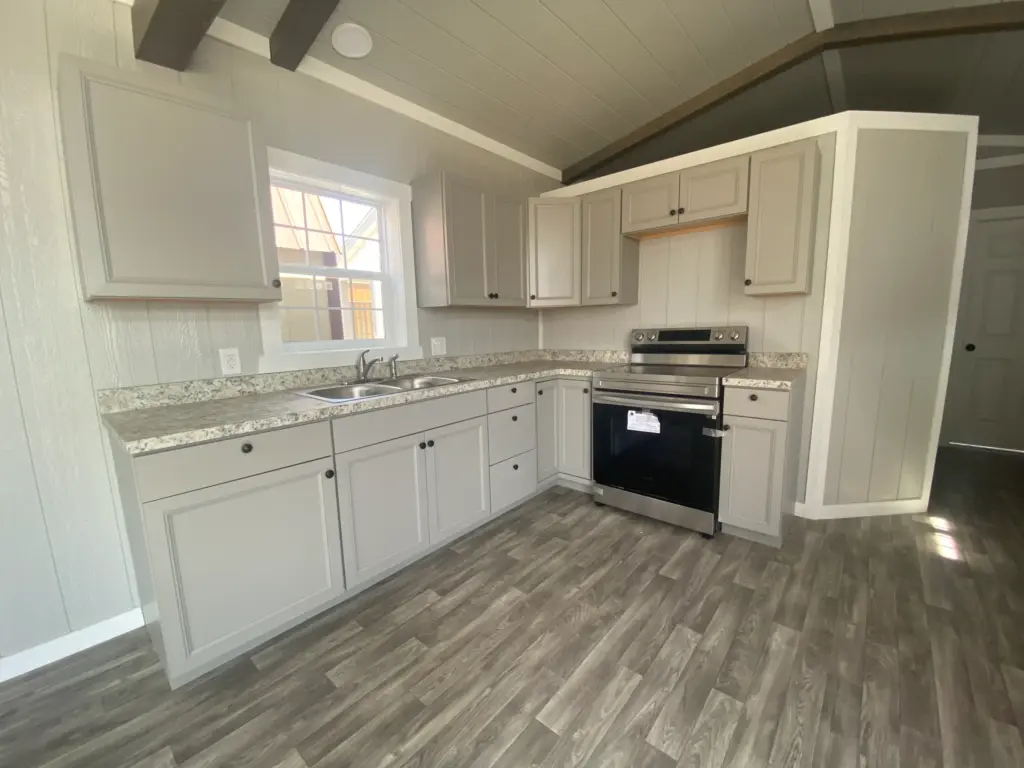
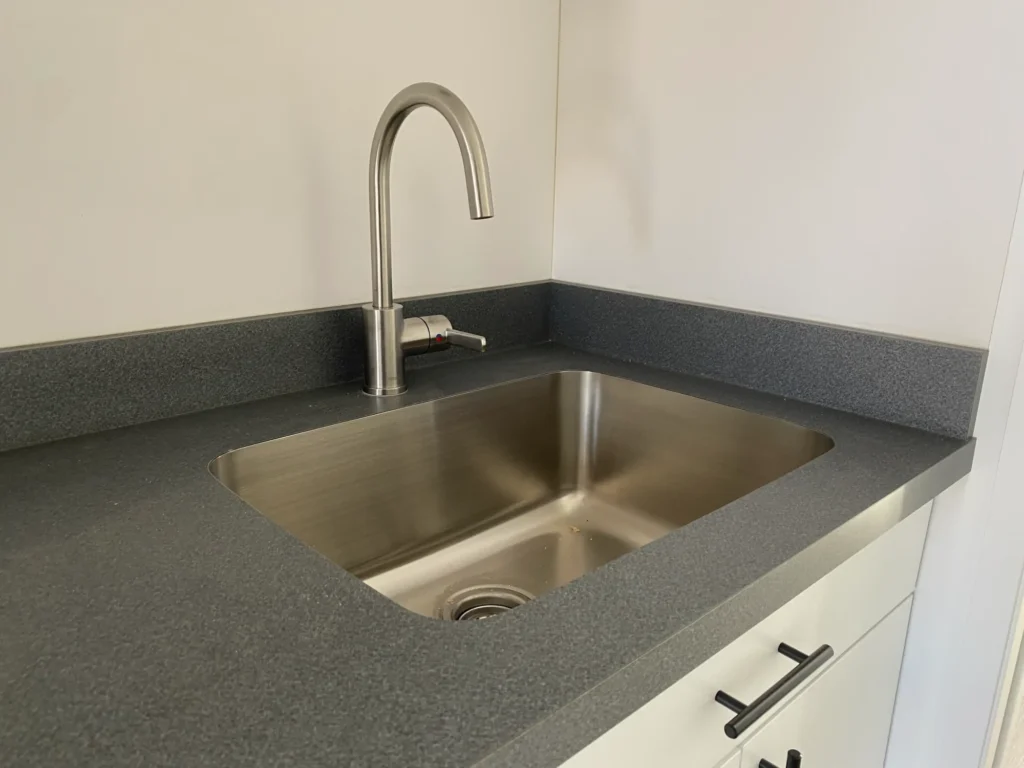
Tiling a kitchen floor gives the room a clean, durable, and attractive surface that stands up to daily use. Many homeowners choose tile because it resists stains, handles spills, and supports a long lifespan with very little maintenance. Learning how to tile a kitchen floor helps you plan the project with confidence and gives you control over the final look and feel of your space. With the right preparation and tools, anyone can install tile flooring with strong results.
At Ohio Cabin and Structures, we work with customers who want strong and reliable flooring in cabins, tiny homes, and full-size houses. Kitchen tile works well in all of these settings because it adds durability and style without adding complex upkeep. Whether you want to upgrade a traditional home or renovate a tiny kitchen inside a compact living space, learning the correct steps for tile installation helps you avoid costly mistakes and achieve a clean, polished finish.

Why Tile Works Well in Kitchens
Tile flooring performs well in kitchens because it handles moisture, heat, and heavy foot traffic. Kitchens experience spills, dropped items, and constant movement. Tile stands up to these challenges while keeping the floor easy to clean. Ceramic, porcelain, and natural stone give you plenty of design options and allow you to match the style of the kitchen with ease.
Tile also improves safety. Smooth tile with proper grout lines reduces tripping hazards and stays level for many years. Homeowners who want to improve overall safety inside their living space, including tiny homes, can explore this guide on tiny home safety practices. Choosing strong and stable flooring contributes to a safer home layout and a better cooking environment.
Gathering the Right Tools and Materials
You need the right tools and materials before starting a kitchen tile project. The basic list includes tile cutters, spacers, trowels, a level, buckets, a sponge, mortar, grout, and of course the tile itself. Buying everything ahead of time prevents delays and keeps your workflow smooth.
Porcelain and ceramic tiles are the most common choices for kitchen floors. Porcelain offers more strength and water resistance, while ceramic provides budget friendly options in many colors and patterns. Natural stone tiles such as slate or travertine give the kitchen a rustic look but require more sealing and care. Choose a tile that matches your lifestyle and maintenance preferences.

Preparing the Kitchen Floor
Proper preparation creates the foundation for a long lasting tile installation. Start by removing the old flooring and cleaning the subfloor thoroughly. Any debris, glue, or uneven patches can affect how the tile sits and may lead to cracks later. A clean and smooth subfloor ensures that the mortar bonds correctly.
Check the floor for moisture issues. Kitchens located on concrete slabs often experience moisture transfer. In these cases, you can apply a moisture barrier before installing the tile. If the kitchen sits inside a cabin or tiny home, pay extra attention to the subfloor’s stability to prevent flexing or movement over time.
Leveling and Strengthening the Subfloor
A level subfloor prevents future tile damage. Use a long level to check for dips and bumps. You can fill low spots with floor leveling compound and sand down raised areas as needed. Tile does not tolerate uneven surfaces well, so this step plays a major role in how well the final installation performs.
Wood subfloors may need additional reinforcement. Adding cement board or an uncoupling membrane creates a stable and moisture resistant surface. Kitchens inside cabins or tiny homes often benefit from this step because smaller structures experience more movement and temperature variation.

Planning the Tile Layout
Planning the layout saves time and prevents awkward cuts or uneven patterns. Dry lay a few tiles on the floor to understand how the pattern will look in the space. Measure the room carefully and mark a straight reference line to guide your first row. Starting in the center of the room helps the layout look balanced, especially when the tile pattern is visible from multiple angles.
Use spacers to maintain even grout lines. Consistent spacing keeps the floor visually appealing and prevents alignment issues. Keep a bucket of tools close by so you can adjust the layout quickly before adding mortar.
Mixing and Applying Mortar
Mortar holds the tile to the subfloor. Mix it according to the instructions on the bag. Aim for a consistency that feels smooth and workable. Spread the mortar with a notched trowel, holding it at an angle to create ridges that help the tile bond securely.
Work in small sections so the mortar does not dry before you set the tile. Press each tile firmly into the mortar and wiggle it slightly to remove air pockets. Use spacers to maintain even gaps. Check your progress with a level to keep the surface straight and clean.

Cutting Tiles for Edges and Corners
You will need to cut tiles to fit around cabinets, walls, and kitchen fixtures. Use a tile cutter or wet saw for straight cuts. Use tile nippers for small adjustments. Take your time with your cuts to keep the edges smooth and accurate. Mark each tile carefully with a pencil before cutting.
Safety matters during this step. Wear protective eyewear and gloves, especially when using a wet saw. Keep children and pets out of the kitchen during installation to avoid distractions and hazards. If you need more general information about tiling materials, installation, or tile properties, you can review Wikipedia’s tile overview for additional reference.
Setting the Remaining Tiles
Continue placing tiles row by row, following your reference line and pattern. Check the alignment often and adjust as needed before the mortar cures. Keep the tiles clean during installation by wiping off excess mortar with a damp sponge. This small step prevents dried mortar from sticking to the tile surface and makes cleanup easier at the end.
Move steadily through the room, staying aware of foot placement. Avoid stepping on freshly installed tiles. If the kitchen space requires working in sections, let the first section cure before moving to the next area. Careful placement ensures a smooth and level finish across the entire floor.

Letting the Mortar Cure
The mortar needs time to cure before you add grout. Most products require at least twenty-four hours. Avoid walking on the tiles during this time. If you must enter the kitchen for any reason, place plywood sheets on the floor to distribute weight evenly. A full cure ensures the tiles stay firmly attached and prevents shifting later.
Temperature and humidity can change curing times. Kitchens in cabins or tiny homes may experience wider temperature swings, so allow extra time if the environment feels colder or more humid than usual. A complete cure gives the entire installation better long-term stability.
Mixing and Applying Grout
Grout fills the spaces between tiles and gives the floor a finished appearance. Choose a grout color that complements the tile and kitchen design. Mix the grout to a thick, smooth consistency. Use a rubber grout float to spread it across the surface and push the material into the joints.
Work in small areas to prevent the grout from drying too quickly. Hold the float at an angle and apply firm pressure to fill every gap. After you fill the joints, wipe the surface with a damp sponge to remove excess grout. Clean the sponge often to avoid spreading residue across the tiles.

Removing Grout Haze
After the grout begins to cure, a light haze may appear on the tile surface. You can remove it with a dry cloth or a haze-removal product. Avoid scrubbing too soon because it can pull grout from the joints. Wait until the surface feels firm but not fully hardened before cleaning.
Remove haze carefully to keep the floor bright and even. Clean tiles help reflect light and give the kitchen an inviting look. Many homeowners use this time to inspect the grout lines and correct any small imperfections before the floor completely sets.
Sealing the Grout and Tile
Sealing the grout protects it from moisture, stains, and everyday wear. Use a high-quality grout sealer and apply it according to the instructions. Some natural stone tiles also require sealing to prevent absorption. Ceramic and porcelain tiles usually do not need sealing, but the grout always benefits from protection.
Follow the drying times closely to allow the sealer to form a strong barrier. Many homeowners choose to reapply sealer once a year to keep the floor looking new. Kitchen floors see constant traffic, so maintaining the seal helps preserve the tile’s strength and appearance.
Cleaning and Maintaining Your New Tile Floor
Regular cleaning keeps the tile floor in top condition. Sweep or vacuum the kitchen often to remove debris that can scratch the surface. Use mild cleaners and warm water to maintain shine. Avoid harsh chemicals that can break down grout over time. Gentle, consistent cleaning makes the floor last longer and keeps the kitchen inviting.
Check grout lines periodically for wear or discoloration. If any areas show signs of damage, clean them and apply fresh sealer. Kitchen floors stay beautiful as long as you follow a simple maintenance routine that protects both the tile and the grout.

Benefits of Tiling a Kitchen Floor
Tile flooring offers long-term value, durability, and style. Its resistance to moisture and stains makes it an ideal choice for kitchens. Homeowners also enjoy the wide range of design possibilities, from classic patterns to modern layouts. Tile can fit any aesthetic, giving you the freedom to create a kitchen that reflects your personal style.
Tile also increases home appeal. Whether your kitchen sits inside a traditional home, a cabin, or a tiny house, tile flooring adds strength and beauty. Durable flooring gives you confidence that the space will stand up to daily use without losing its charm.
When to Call a Professional
Some homeowners install tile flooring themselves, while others hire a professional for guaranteed results. Large kitchens, uneven subfloors, or natural stone projects often benefit from professional installation. A skilled installer handles cutting, leveling, and sealing with accuracy, reducing the risk of future repairs.
If you want a reliable installer or need advice for flooring in cabins or tiny homes, reach out through the contact page at Ohio Cabin and Structures. Professional guidance helps you avoid mistakes and ensures the floor lasts for years.

Final Thoughts
Learning how to tile a kitchen floor gives you the ability to transform the heart of your home with skill and confidence. The process requires planning, patience, and attention to detail, but the results offer beauty and long-term durability. With proper preparation, careful installation, and routine maintenance, your tiled kitchen floor will serve your home for decades.
Tile flooring works well in any kitchen, whether in a full-size home, a cabin, or a tiny house. If you want to explore durable building options or find structures that support your renovation goals, visit Ohio Cabin and Structures and learn more about the solutions available for every type of home.
