Starting a tile floor in the right place makes the entire installation look clean, balanced, and professional. Many homeowners feel unsure about where to begin because the starting point affects the pattern, the number of cuts, and the overall appearance. Learning how to choose the correct starting point helps you avoid uneven edges, crooked lines, or awkward gaps along the walls.
At Ohio Cabin and Structures, we help customers design floors that look precise and well aligned in cabins, tiny homes, and full-size houses. Whether you’re tiling a small mudroom or a large kitchen, selecting the right starting point ensures a strong and attractive result. A good plan prevents frustration and gives the room a polished finish that lasts for many years.
Why Starting Point Matters
Your starting point determines the direction of the layout and influences how the pattern flows across the room. If you choose the wrong spot, the tiles may end up uneven along the walls or require unnecessary cuts. The right starting point helps the tile line up with doorways, cabinets, hallways, and other important features. Tile patterns should draw the eye naturally and create a balanced look. When you begin in the correct location, the layout remains strong and symmetrical, making the finished room feel more open and visually appealing.
Find the Center of the Room
Most tile installations begin in the center of the room. Starting in the center helps the layout stay symmetrical and prevents small, uneven cuts along opposite walls. Find the midpoint by measuring the length and width of the room. Mark both center points with a pencil.
Next, snap chalk lines from the center of each wall to create a cross pattern. This cross marks the intersection where most installers begin placing tile. Working from the center allows the pattern to spread outward in all directions while staying straight and consistent.
Why Centering Helps Balance the Layout
Centering the layout ensures that both sides of the room receive equal tile coverage. This prevents one wall from having large full tiles while the other wall ends up with thin slivers. Balanced cuts create a cleaner look and make the installation appear professionally done.
Rooms rarely have perfectly straight walls. By starting in the center, you avoid the imperfections around the edges and keep the main field of tile aligned and attractive.
Consider the Main View of the Room
The starting point may shift if the room has a strong focal direction. For example, if the tile runs through a hallway into a kitchen, the pattern should line up with the hallway to keep the layout visually seamless. Sometimes installers move the starting point to align with doorways or sightlines that guests see when entering the home.
Cabins and tiny homes often have open layouts, so the tile pattern impacts multiple spaces at once. In these cases, start the layout where the tile will look best from the most frequently used entry point.
Dry Lay the Tiles Before Adding Mortar
Dry laying means placing the tiles on the floor without mortar to preview the pattern. This step helps you see how the tile fits the room and allows you to check the size of the cuts along each wall. If any cuts look too small, adjust the starting point slightly to create better balance.
Dry laying also helps you catch alignment issues early. You can experiment with different layouts before committing to mortar, which saves time and reduces mistakes.
Account for Tile Size and Pattern
Larger tiles require more careful planning because small mistakes show easily. Smaller tiles allow more flexibility but still need a clear layout. Patterns like diagonal, herringbone, or offset require even more attention because they influence movement across the room.
A diagonal layout often begins at the center of the room because the angles spread evenly in all directions. A brick or offset pattern may start along the longest wall to create straight, even rows. Choose a starting point that supports the pattern you want.
Check How the Tile Meets Cabinets and Fixtures
Kitchens and bathrooms include built-in cabinets, islands, and appliances. These features affect where you start the tile. Avoid placing small tile pieces along cabinet edges because they draw attention and look uneven. The goal is to place larger tile sections where the eye naturally focuses.
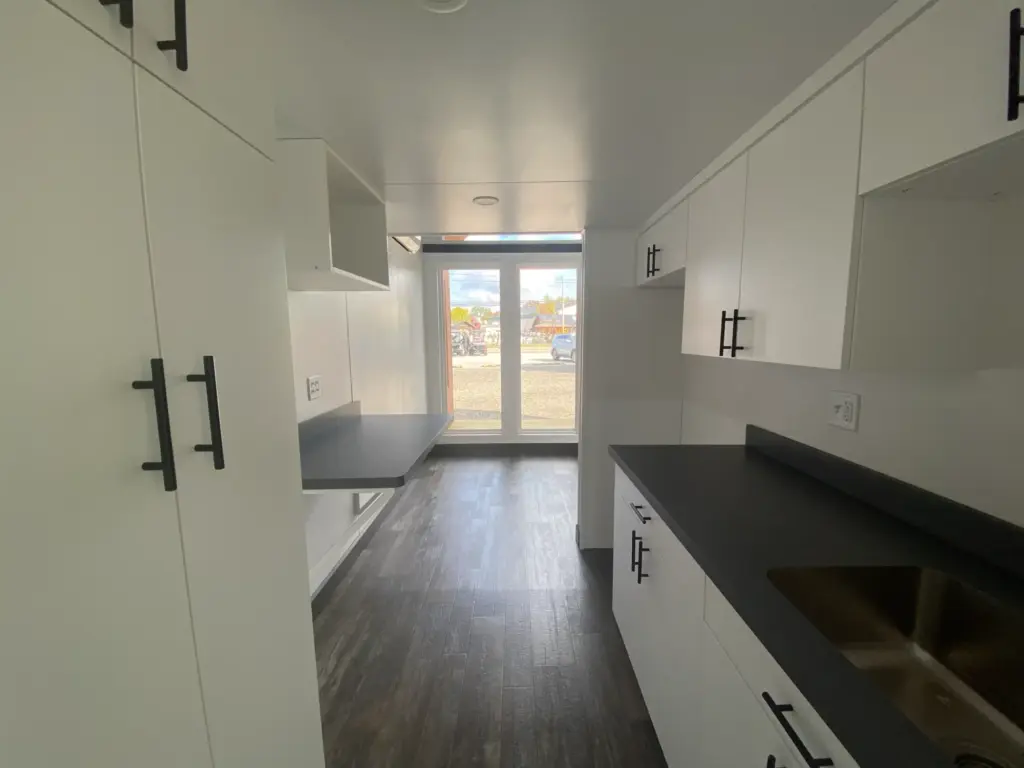
In tiny homes, cabinet placement plays an even bigger role because the space is limited. A clean tile layout helps the kitchen flow better and makes the home feel larger and more open. This relates to good building practices, which also help homeowners meet rules and codes for small structures. To learn more about compliance, view this guide on tiny home legality.
Work With Straight Reference Lines
Once you choose your starting point, snap straight chalk lines across the floor to guide tile placement. These lines prevent crooked rows and help the entire layout stay aligned. Even a small misalignment in the first row can grow into a large problem by the time you reach the opposite wall.
Use a level to ensure each row stays straight. Making small adjustments early protects the entire installation and keeps the room looking clean and professional.
Start Laying Tile Along the Layout Lines
After marking the layout lines, begin placing tile along one of the straight lines. Apply mortar in small sections so it does not dry before you place each piece. Press each tile firmly into the mortar and use spacers to maintain even joints between the tiles.
Starting along the layout lines helps you control alignment. Once the first row sits correctly, the rest of the layout follows more smoothly. This first row acts as the anchor for the entire installation.
Check for Level as You Install
Keeping the tile level prevents uneven edges and tripping hazards. Use a level frequently to check your progress. If a tile sits too high, press it down gently. If it sits too low, adjust the mortar beneath it. These small adjustments keep the entire floor smooth and safe.
Kitchen and bathroom floors especially need level surfaces because these rooms handle moisture, spills, and heavy foot traffic. A level installation improves durability and reduces stress on the grout lines.
Adjust the Starting Point for Irregular Rooms
Some rooms have irregular shapes, angles, or alcoves that make standard centering difficult. In these cases, find the largest open section of the room and start there. Tile the most visible area first and work outward toward smaller sections or corners.
This approach keeps the main field of tile attractive and consistent. Smaller areas with awkward cuts can be handled last without affecting the main appearance of the room.
Handle Doorways and Transitions Carefully
Doorways need careful planning because they create natural focal points. Start the tile so that it lines up cleanly with the threshold or transition strip. Uneven cuts at a doorway draw attention and make the room look unbalanced. Take extra time to line up the tile edge where the floor meets another room.
If the adjoining room has different flooring, use a transition strip to join the two surfaces. For open floor plans like those in cabins or tiny homes, smooth transitions help the whole space feel connected and visually consistent.
Start at the Center for Rooms With Multiple Entry Points
Some rooms have several entryways or open walls. In these cases, starting at the center of the room prevents alignment issues and helps balance the layout. Measure and mark the midpoint from wall to wall, then use chalk lines to divide the floor into four equal sections. This method helps you move evenly in each direction. It also makes it easier to keep grout lines straight as you work toward the edges.
Install Tile in Manageable Sections
Work in small, manageable sections to keep control over the mortar. Spreading too much mortar at once can cause tiles to shift or dry before you set them. Apply enough mortar for only a few tiles at a time and adjust as needed to maintain alignment. Take your time and double-check spacing between each tile. Even spacing improves the finished look and ensures the grout lines remain consistent and clean.
Use Spacers to Maintain Alignment
Tile spacers keep the gaps between tiles uniform. Place spacers at each corner to maintain even joints. Straight and consistent grout lines enhance the quality of the installation and help prevent cracking or shifting later. Remove the spacers only after the mortar begins to set. Leaving them in place too early may cause tiles to drift. Maintaining correct spacing is one of the simplest ways to improve the finished appearance.

Check the Perimeter Before You Reach the Walls
As you approach the edges of the room, review the remaining space to see how the tiles will fit. You want to avoid ending the installation with thin slivers of tile that look uneven or fragile. If the final rows look too narrow, adjust the tile pattern slightly by shifting the starting line during the layout stage.
Dry laying helps you predict this step early, but double-checking during installation ensures the edges look clean and strong once the project is complete.
Cut Tiles to Fit the Edges and Corners
You will need to cut tiles to fit against walls, cabinets, and corners. Use a wet saw or tile cutter to make straight cuts. For curved or irregular shapes, tile nippers allow small adjustments. Mark each tile carefully before cutting to maintain accuracy.
Wear protective gear and follow safety instructions while operating cutting tools. Accurate measurements and careful cutting give the floor a clean, well-finished look.
Plan for Obstructions
Obstructions like floor vents, support posts, and plumbing fixtures require special tile cuts. Measure the area and mark the tile before cutting. Leave enough space around plumbing fixtures to allow for sealants or transition pieces. These cuts may take extra time, but they help the finished floor look seamless.
Obstructions often appear in kitchens and bathrooms, but they also appear in cabins and tiny homes where layouts are compact. Careful planning keeps the installation tidy and secure.

Allow the Mortar to Set
Let the mortar cure before you walk on the tiles. Most mortar products need at least twenty-four hours to harden. Walking on the tiles too soon can shift them out of alignment or cause them to sink unevenly. Follow the instructions on the mortar bag to determine the correct drying time.
Use boards or plywood sheets if you need to enter the room during curing. Spreading weight prevents deep pressure points that could affect tile placement.
Grout the Floor After the Mortar Cures
Once the tiles are secure, apply grout between the joints. Spread the grout at an angle using a rubber float. Press the grout firmly into each gap to avoid air pockets. After filling the joints, wipe off excess grout with a damp sponge. Clean the tiles several times as the grout begins to harden.
Use grout that complements the tile color and kitchen design. Neutral grout lines help the tile pattern stand out, while bold grout adds contrast and visual interest.
Clean and Seal the Tile Floor
After the grout dries, clean the tiles thoroughly to remove any haze left on the surface. You can use a dry cloth or a haze-removal product. For added protection, apply a grout sealer to prevent stains and moisture absorption. This step keeps the floor looking clean and helps the grout last longer.
Some natural stone tiles may require sealing as well. Follow manufacturer guidelines for the type of tile you install.
Why Proper Starting Point Improves Durability
Your starting point affects more than just appearance. A properly located starting point makes the layout stronger and reduces stress on the joints. Tiles that sit unevenly or follow crooked lines usually crack faster. A clean starting point keeps pressure distributed evenly across the floor.
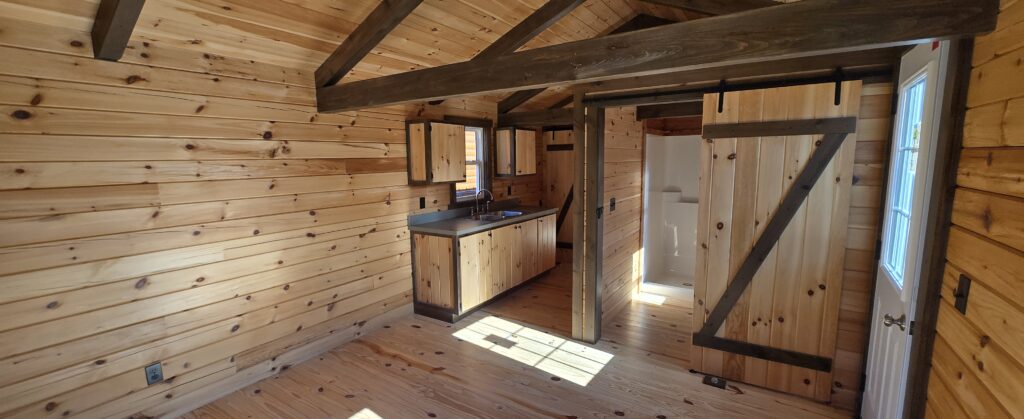
Homeowners looking to improve the overall strength and structure of cabins or tiny homes often pay close attention to these details. Flooring plays a key role in home stability and comfort.
Common Mistakes to Avoid
Avoid starting the tile directly at a wall unless the room is perfectly square. Walls often have slight inconsistencies that can throw off the entire layout. Skipping the dry-lay process or ignoring reference lines can lead to crooked rows and uneven edges. Rushing the installation or walking on the tile before the mortar cures also creates long-term problems.
Take your time during each step. Good preparation prevents most mistakes, and patience leads to a higher-quality final result.
When to Hire Professional Help
If you feel unsure about your layout or face complex cuts or patterns, you can hire a professional installer. Skilled installers handle leveling, pattern placement, and precision cutting with ease. They ensure the tile lines up with doorways, cabinets, and walls in a clean and balanced way.
If you want guidance for cabin or tiny home floors, reach out through the contact page at Ohio Cabin and Structures. Professional advice helps you avoid costly mistakes and gives your home a durable, long-lasting floor.

Final Thoughts
Knowing where to start your tile floor makes the installation smoother and helps you achieve a balanced, professional look. Most installers begin at the center of the room, but your starting point may shift depending on the layout, pattern, and visible entry points. Good planning, accurate measurements, and a clear layout guide the entire process.
With care and patience, you can tile a floor that looks beautiful and lasts for many years. If you want to explore strong building solutions or improve your home layout, visit Ohio Cabin and Structures and discover options that fit cabins, tiny homes, and traditional houses.
