Installing a garage door opener is a practical upgrade that adds convenience, safety, and value to your property. Whether the garage is attached to a home or part of a standalone structure, a properly installed opener makes daily use easier and more secure. Many homeowners choose to install a garage door opener themselves to save money and gain better control over the setup. This article explains how to install a garage door opener step by step, from preparation and safety checks to final testing. By following the correct process, you can ensure smooth operation and long term reliability.
How Garage Door Openers Work
A garage door opener uses a motorized system to open and close the door along a track. Most residential openers rely on chain drive, belt drive, or screw drive mechanisms. The motor pulls a trolley that moves the door through an arm attached to the top panel. Sensors near the floor prevent the door from closing if something crosses the path. Wall controls and remote transmitters send signals to the opener unit. Understanding these basic components helps during installation and troubleshooting. Knowing how each part functions also improves long term maintenance and safety.
Choosing the Right Garage Door Opener
Selecting the correct opener depends on door size, weight, and usage frequency. Lightweight doors work well with belt or chain drive systems, while heavier doors may need stronger motors. Noise level matters for garages near living spaces. Smart features allow control through mobile apps and add convenience. Horsepower ratings affect lifting ability and durability. Choosing the right opener prevents strain on the system and ensures smooth performance. Before installation, confirm the opener is compatible with your garage structure and ceiling height.
Preparing the Garage for Installation
Testing confirms that installation was successful. Open and close the door several times to observe movement. Check for smooth operation and unusual noises. Test safety sensors by placing an object in the door’s path. Confirm the door reverses direction when resistance is detected. Verify remote controls and wall switches function properly. For additional safety standards and operational guidance, this overview from Consumer FTC provides helpful information.
Gathering Tools and Materials
Having the right tools on hand saves time and reduces frustration. Common tools include a power drill, wrench set, ladder, tape measure, level, and screwdrivers. The opener kit usually includes rails, mounting brackets, sensors, and hardware. Safety gear like gloves and eye protection is also important. Review the manufacturer’s instructions before starting. Organizing parts and tools beforehand helps avoid mistakes and speeds up the process. Proper preparation sets the stage for a smoother installation experience.
Assembling the Opener Unit
Most garage door openers require assembly before mounting. This includes connecting the rail sections, installing the trolley, and attaching the motor unit. Follow the instructions carefully to ensure correct alignment. Incorrect assembly can cause operational issues later. Lay the components out on the garage floor to keep everything accessible. Tighten bolts securely but avoid over tightening. Taking time during this stage prevents adjustments later and ensures reliable performance once installed.
Mounting the Opener to the Ceiling
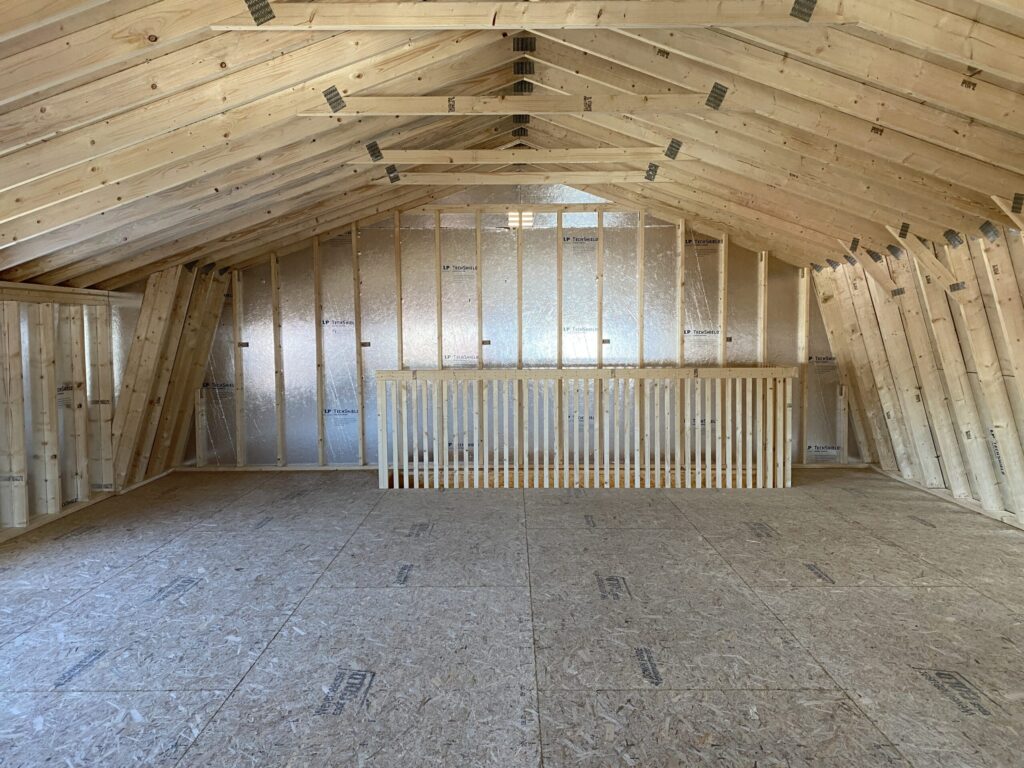
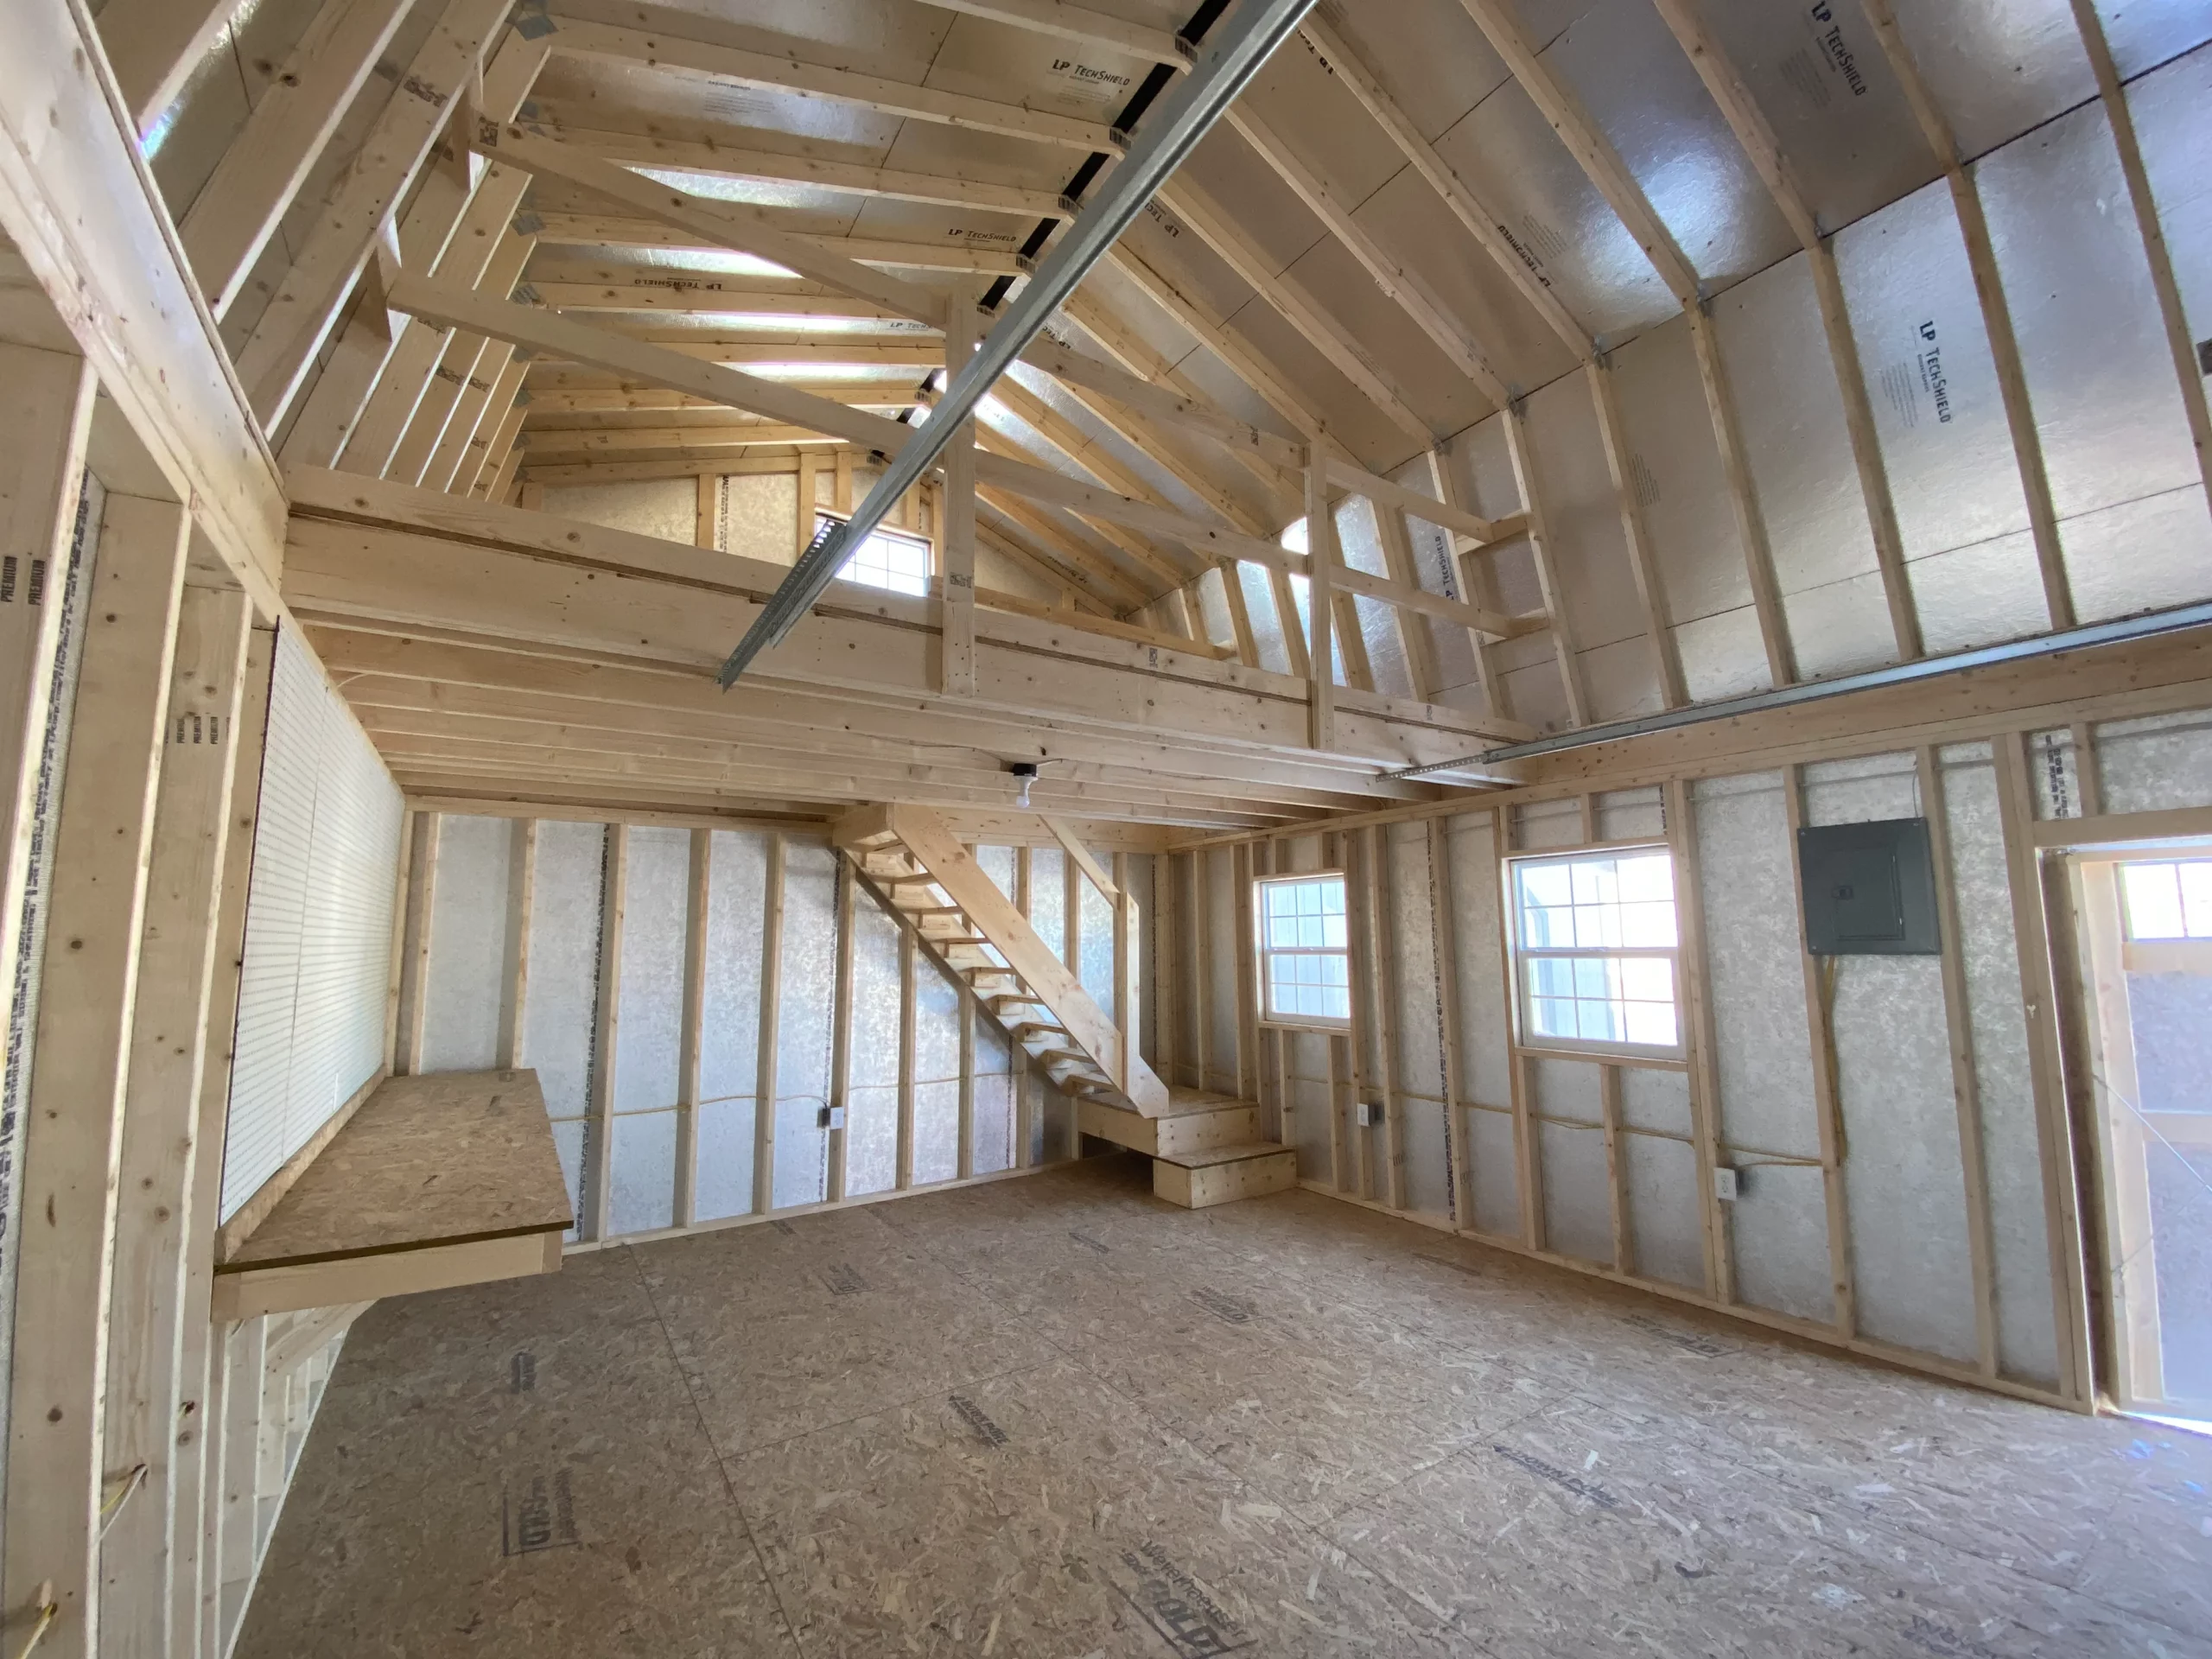
The opener must be securely mounted to the ceiling using brackets or angle iron. Locate ceiling joists or structural supports for safe attachment. Use a level to ensure the opener rail is perfectly aligned with the garage door. Improper alignment can cause strain on the motor and door. A stable ceiling structure is essential, especially in larger workspaces like the 16×24 2 Story Workshop, where heavier doors and frequent use are common. Secure mounting ensures long term durability.
Installing the Door Arm and Brackets
The door arm connects the opener trolley to the garage door. Attach the bracket to the top section of the door according to manufacturer guidelines. This connection transfers lifting force evenly across the door. Make sure the arm moves freely during operation. Improper placement can cause uneven lifting or damage to door panels. Double check measurements and alignment before tightening bolts. A correct connection improves performance and reduces wear on components.
Setting Up Safety Sensors
Safety sensors are required on modern garage door openers. These sensors prevent the door from closing if an object or person is detected. Install them near the floor on both sides of the door opening. Align the sensors carefully so the beam remains uninterrupted. Secure wiring along the wall to avoid damage. Test the sensors before completing installation. Properly installed sensors are critical for household safety and compliance with regulations.
Connecting Power and Controls
Once the opener is mounted and connected to the door, connect the power supply. Most units plug into a standard outlet. Install the wall control at a convenient height near the entry door. Program remote controls according to instructions. Smart openers may require app setup and Wi Fi connection. Test all controls to ensure they function correctly. Reliable power and control setup ensures ease of use and dependable operation.
Adjusting Travel Limits and Force
Travel limits control how far the door opens and closes. Adjust these settings so the door fully opens without hitting the opener rail and closes firmly without excessive force. Force settings determine how much resistance the motor applies. Too much force can damage the door, while too little may prevent proper operation. Follow manufacturer instructions carefully during adjustment. Proper calibration improves safety and extends the life of the opener.
Testing the Garage Door Opener
Testing confirms that installation was successful. Open and close the door several times to observe movement. Check for smooth operation and unusual noises. Test safety sensors by placing an object in the door’s path. Confirm the door reverses direction when resistance is detected. Verify remote controls and wall switches function properly.
Common Installation Mistakes
One common mistake is installing the opener on a door that is not properly balanced. Another is misaligned rails or sensors. Skipping safety checks can lead to malfunction or injury. Rushing through adjustments often causes issues later. Reading instructions carefully and taking time with each step reduces errors. Avoid shortcuts and double check all connections. Careful installation ensures long term performance and safety.
Conclusion
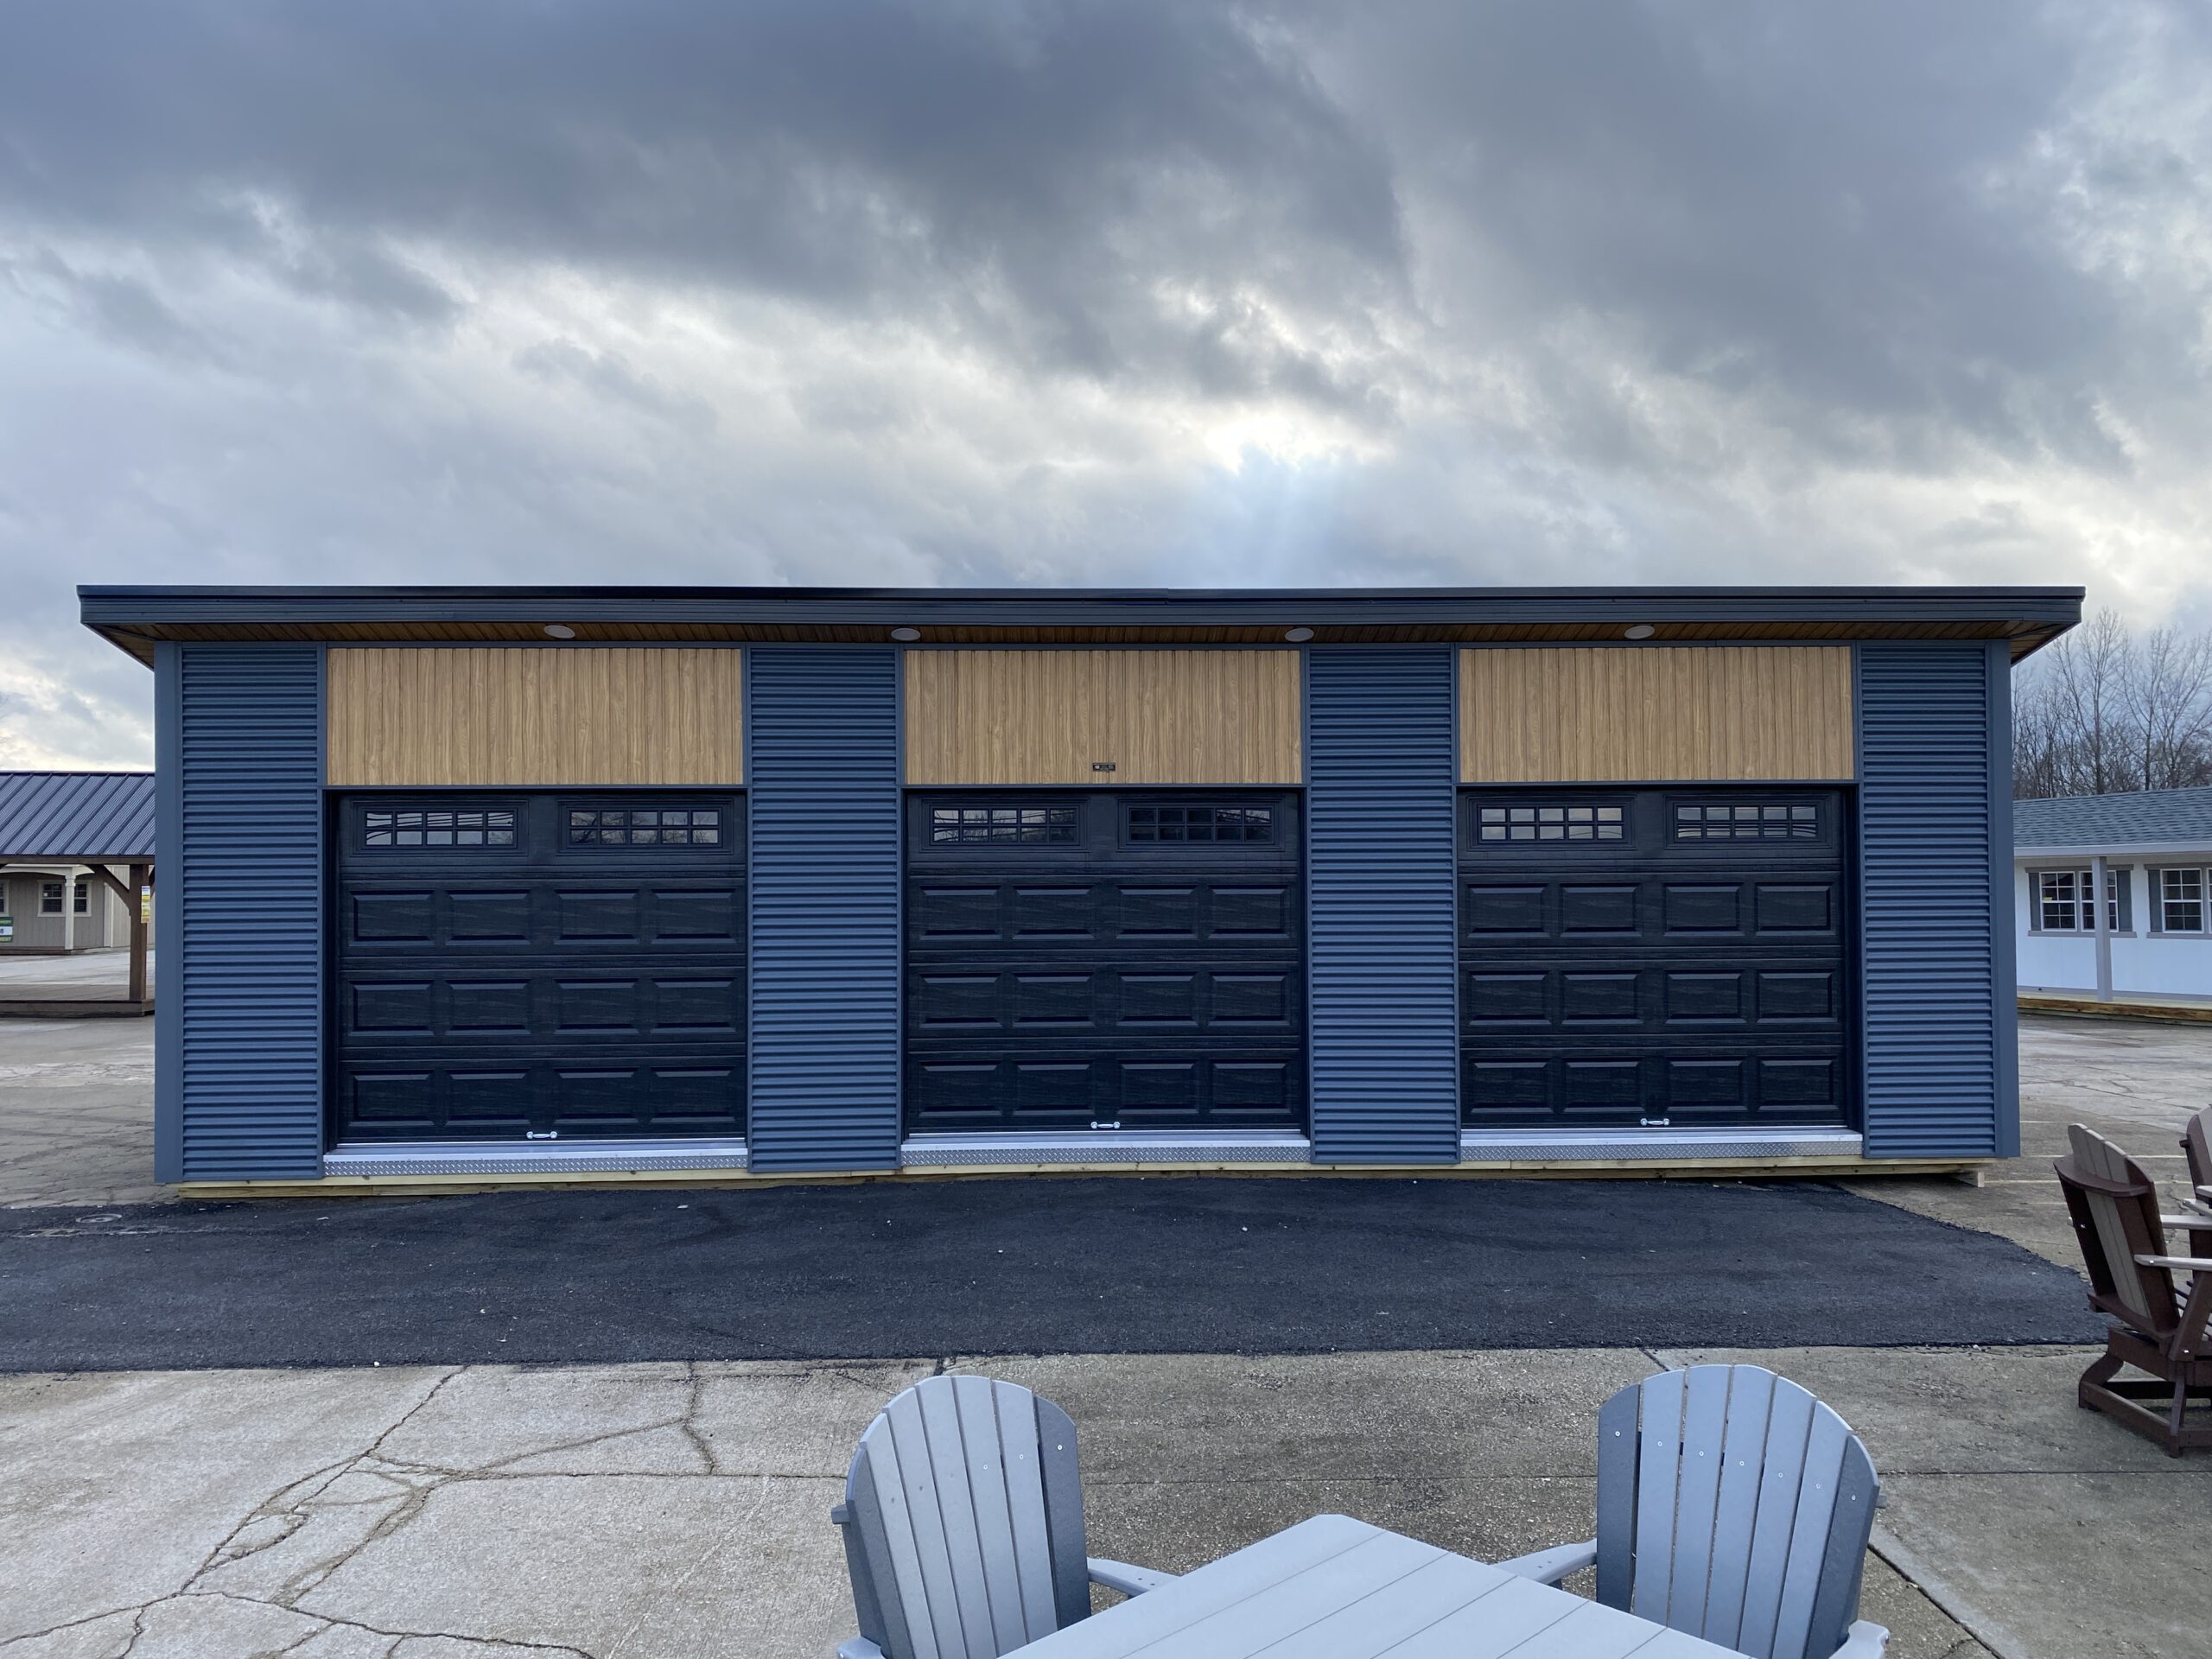
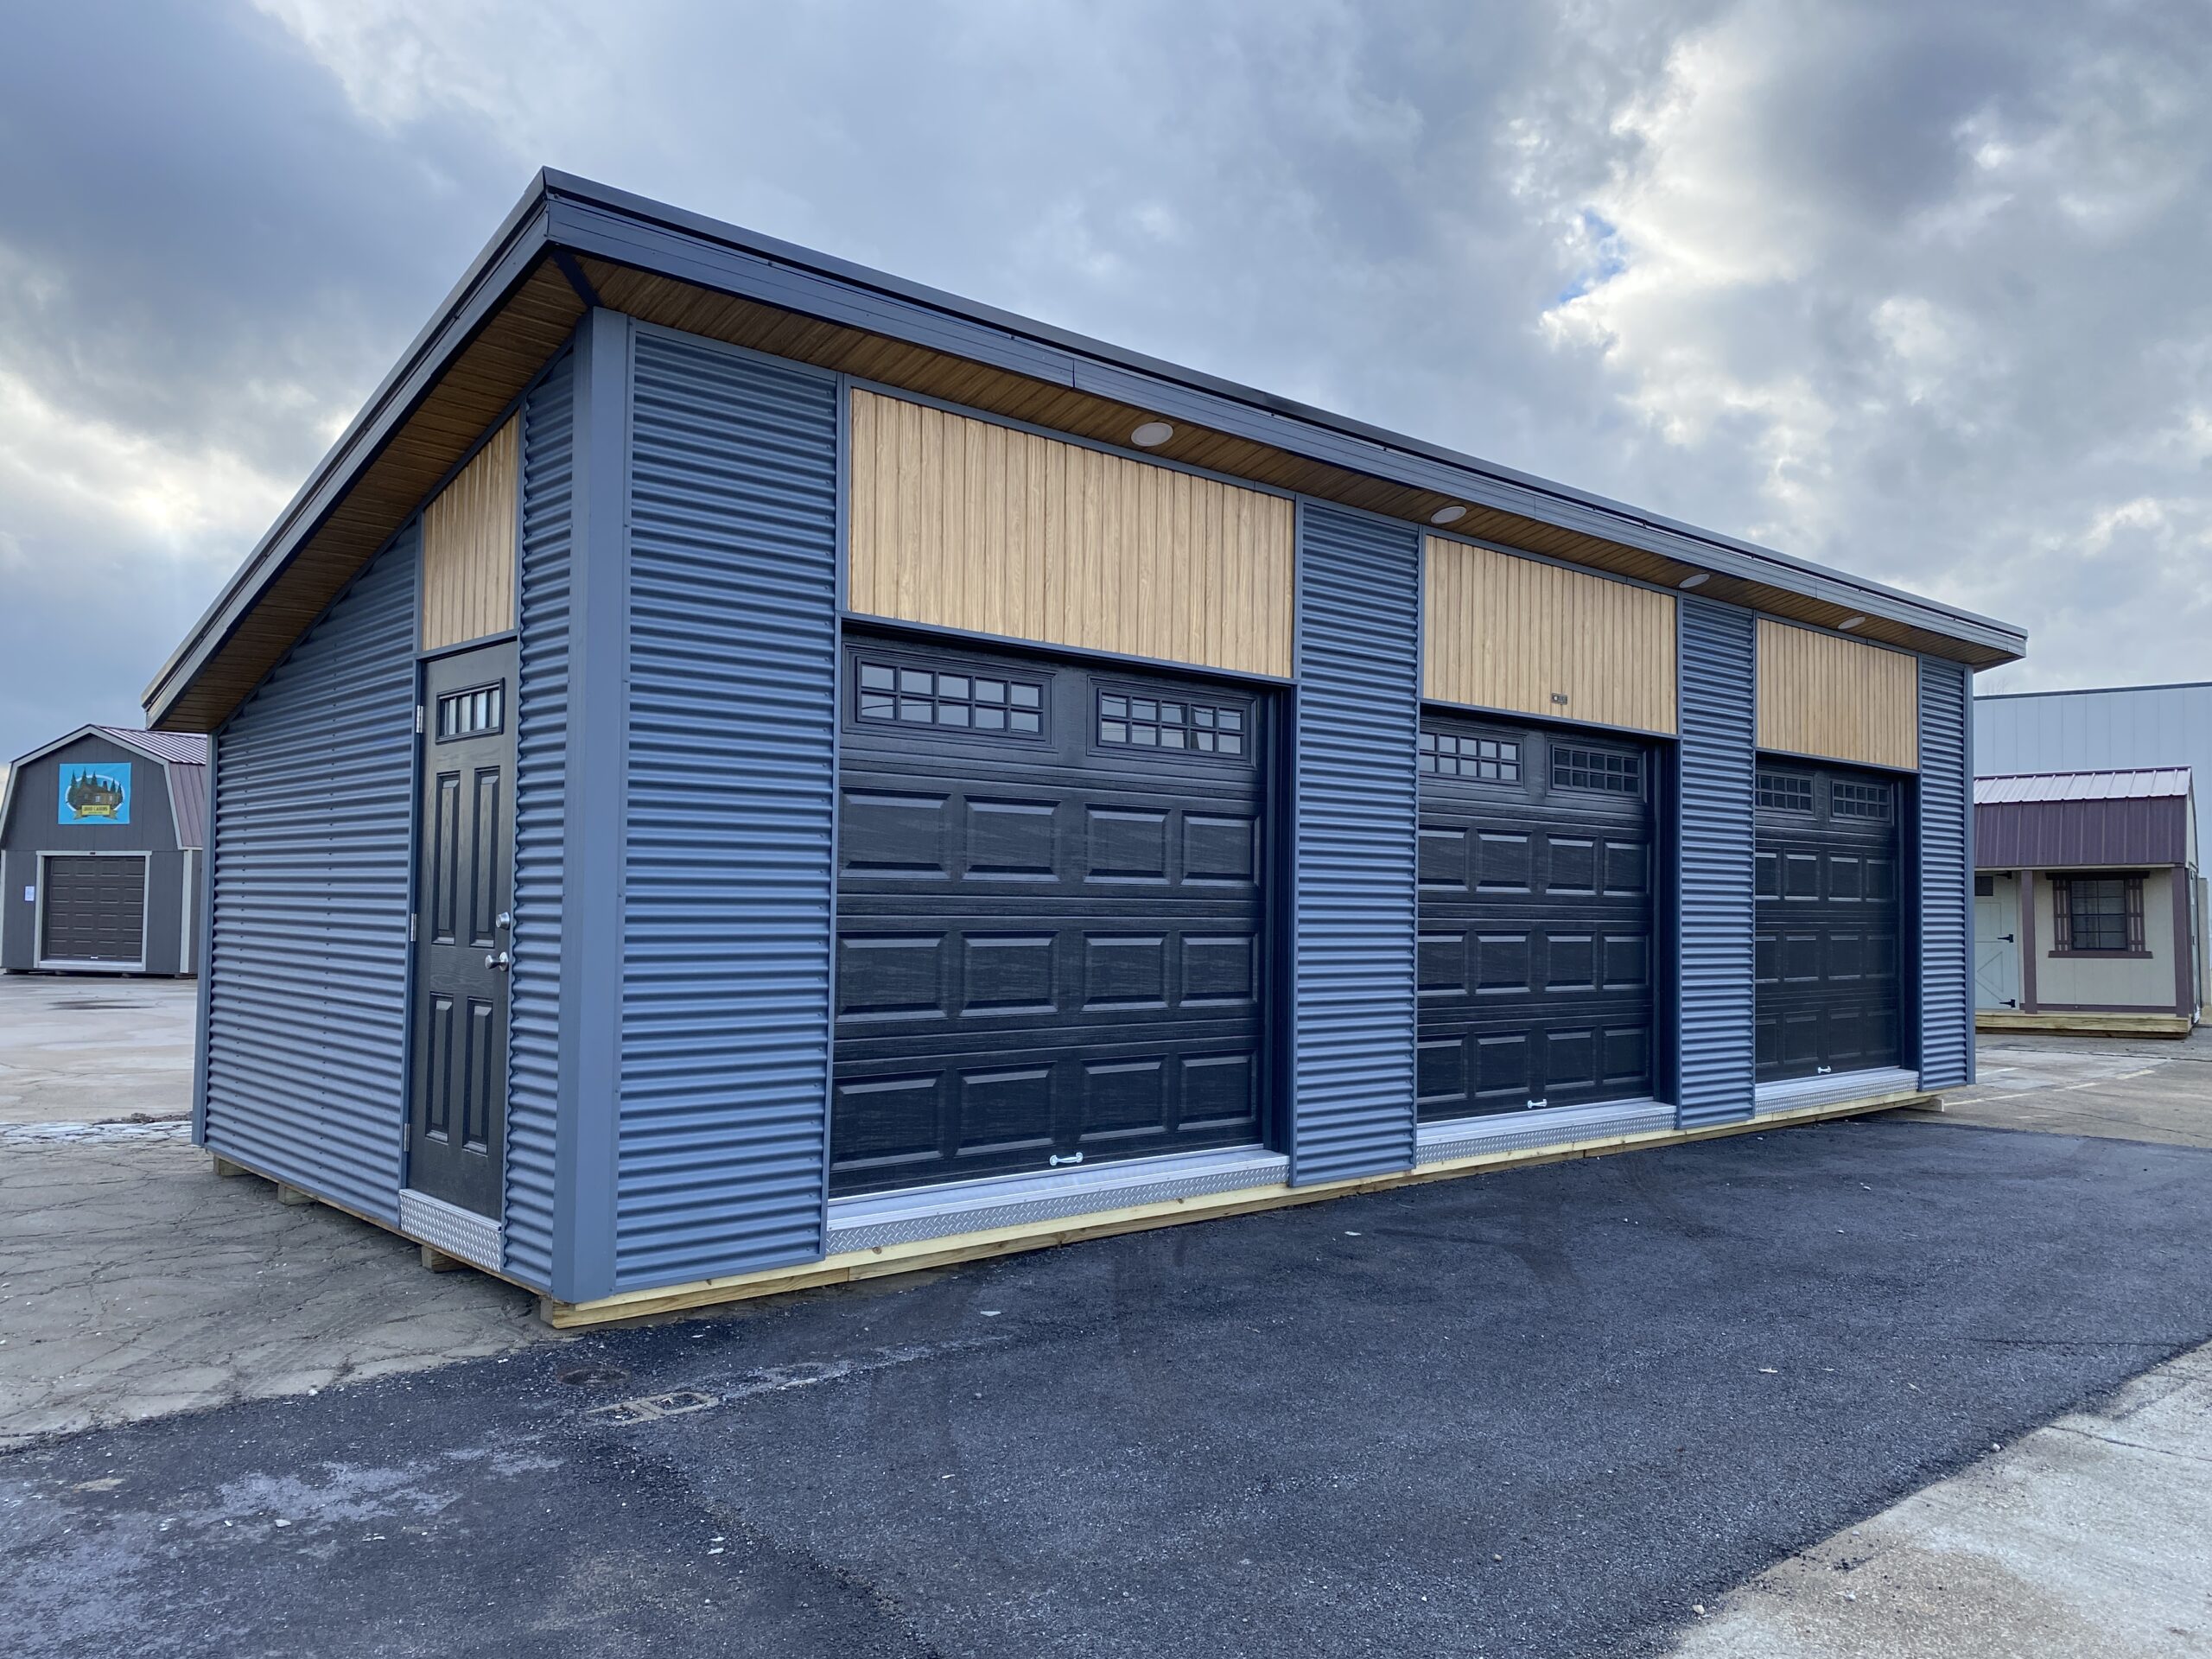
Installing a garage door opener is a manageable project with the right preparation and attention to detail. From choosing the correct opener to testing final operation, each step plays an important role in performance and safety. Ohio Cabins and Structures offers well built garages and workshops designed to support reliable installations and long term use. This article explained how to install a garage door opener in a clear, step by step way. To explore garage and building options that support your needs, visit Ohio Cabins and Structures.